Description:
This article will explain how to enable cloud storage on the recorder’s web interface. Currently, the supported cloud platforms include Google Drive and Dropbox.
Note: Cloud video upload supports a maximum of two active channels. For standalone cameras, cloud storage can be activated by inserting an SD card and adjusting the settings through the camera's web interface.
Compatible List:
Model | Version | |
NVR | NVR3104-4P | V8.2.4.1-20240914 |
NVR3108-8P | ||
NVR3216-16P | ||
NVR3216-16P-AI | ||
NVR3432-16P-AI | ||
NVR3432(No POE) | ||
XVR | XVR-3104-AI | V8.2.4.1-20240925 |
XVR-3108-AI | ||
XVR-3216-AI | 20240618 | |
XVR-3432-AI | ||
IP Cameras | CAM-IP3058-180-PV-AI | V31.35.8.2.4.1_240807 |
CAM-IP3135W-A-SI-28-AI | ||
CAM-IP3135B-A-SI-28-AI | ||
CAM-IP3135W-AA-SI-Z-AI | ||
CAM-IP3735W-AA-SI-Z-AI | ||
CAM-IP3335W-AA-SI-Z-AI | ||
CAM-IP3155B-PV-28-AI | ||
CAM-IP3155B-PV-Z-AI | ||
CAM-IP3155W-PV-28-AI | ||
CAM-IP3155W-PV-Z-AI | ||
CAM-IP3335W-28-AI | ||
CAM-IP3138W-A-SI-28-AI | ||
CAM-IP3138B-A-SI-28-AI | ||
CAM-IP3138W-AA-SI-Z-AI | ||
CAM-IP3158W-PV-28-AI | ||
CAM-IP3174-PV-28-AI | ||
CAM-IP3178B-PV-28-AI | ||
CAM-IP3178-PV-Z-AI | ||
CAM-IP3338W-AA-SI-Z-AI | ||
CAM-IP3338W-28-AI | ||
CAM-IP3355W-PV-28-AI | ||
CAM-IP3355W-PV-Z-AI | ||
CAM-IP3358W-PV-28-AI | ||
CAM-IP3358W-PV-Z-AI | ||
CAM-IP3638-PV-4X-AI | ||
CAM-IP3635-33X-AI | ||
CAM-IP3738W-AA-SI-Z-AI | ||
CAM-IP3755W-PV-Z-AI | ||
CAM-IP3758W-PV-Z-AI | ||
CAM-IP3778-PV-28-AI |
Related question:
- How to use Dropbox as cloud storage?
- How to use Google Drive as cloud storage?
- How can I find the videos and pictures in my cloud storage?
Set up Cloud Storage on the Recorder’s webpage
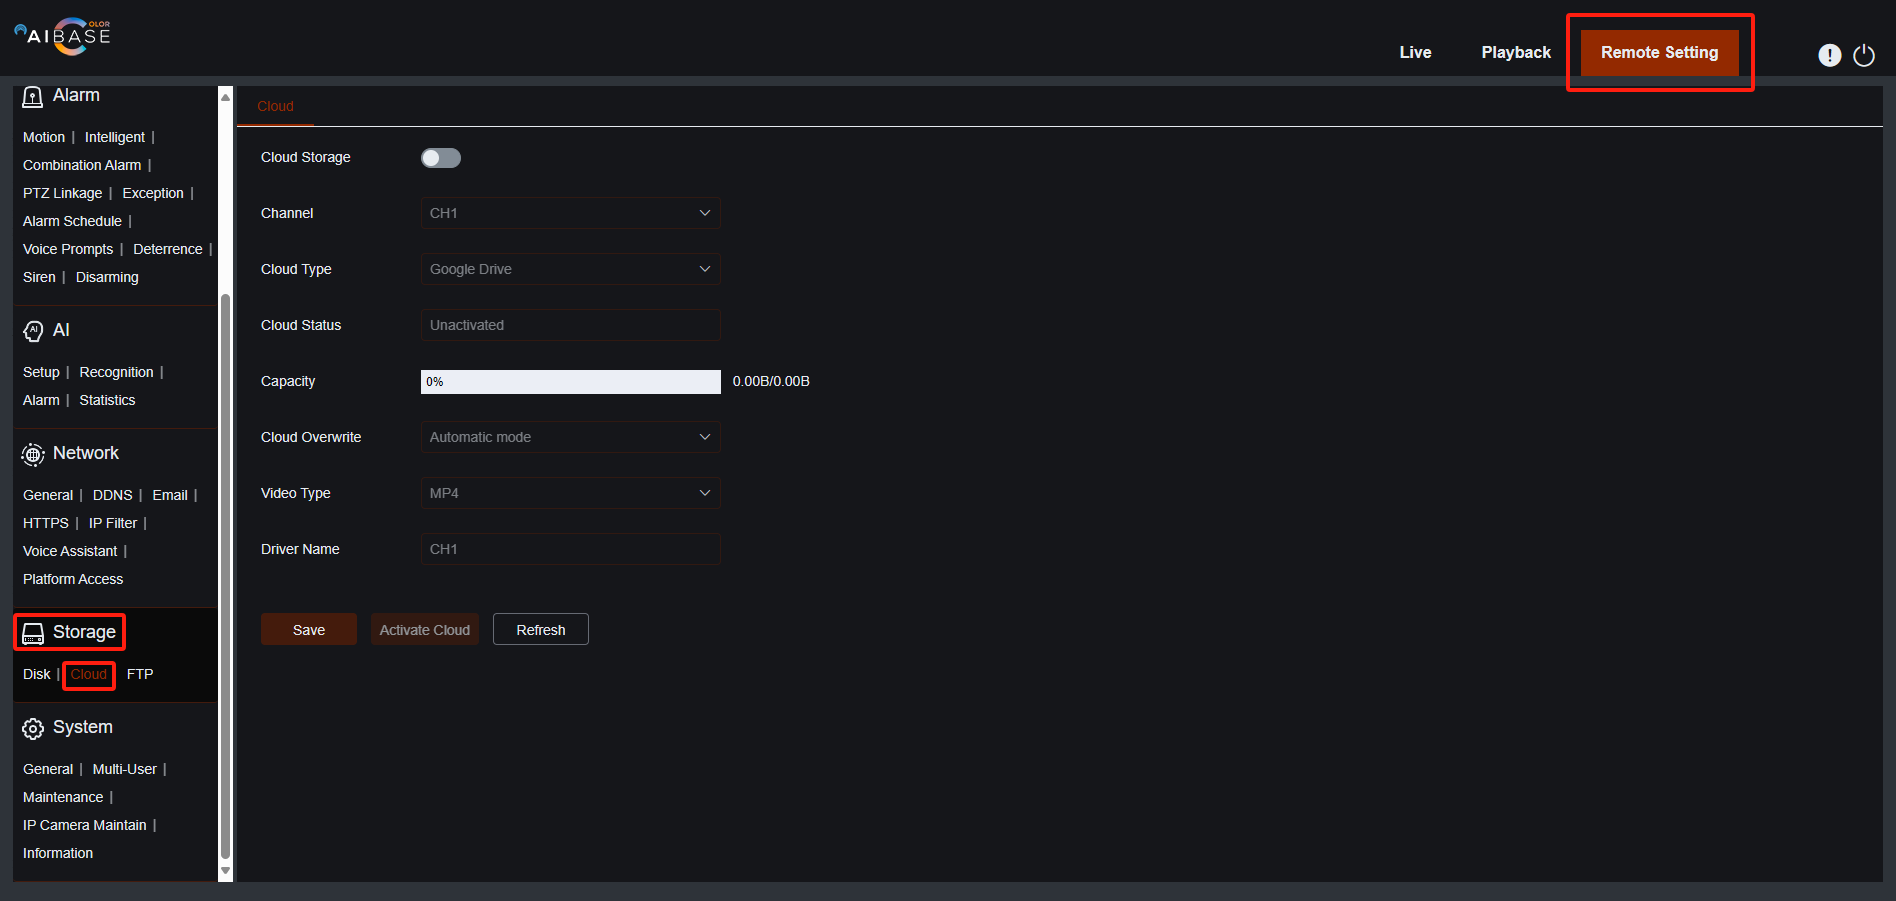
- On the recorder’s webpage, click Remote Setting, and select Cloud from the Storage section.
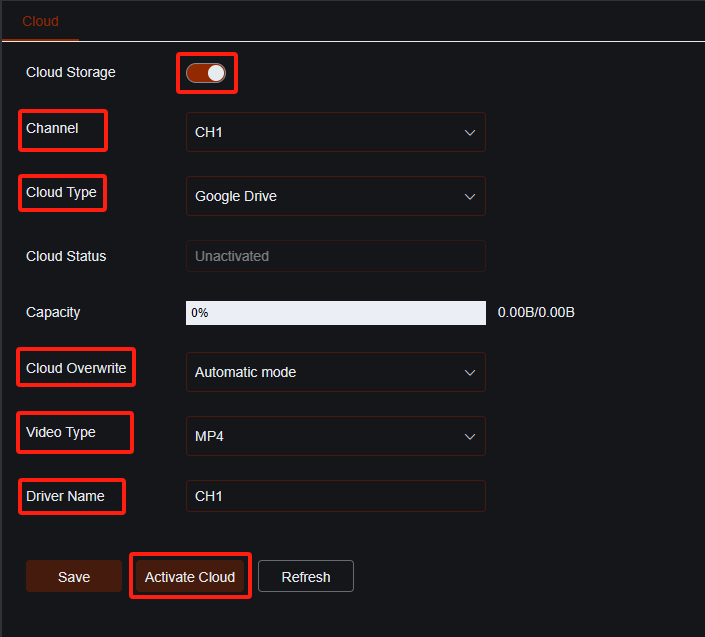
2. Enable the feature and select the channel to upload files to cloud storage. Use the dropdown menu to choose between Dropbox or Google Drive (I will demonstrate using Google Drive). Leave other settings as default or adjust as needed. When finished, click the 'Activate Cloud' button.
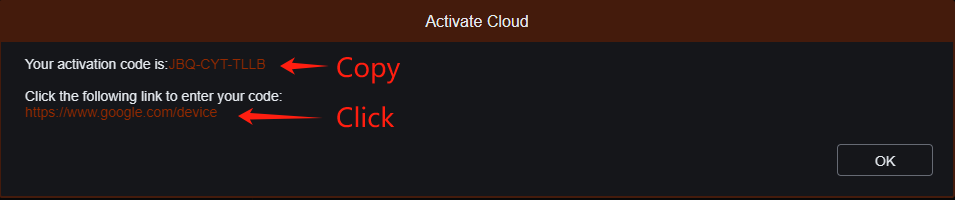
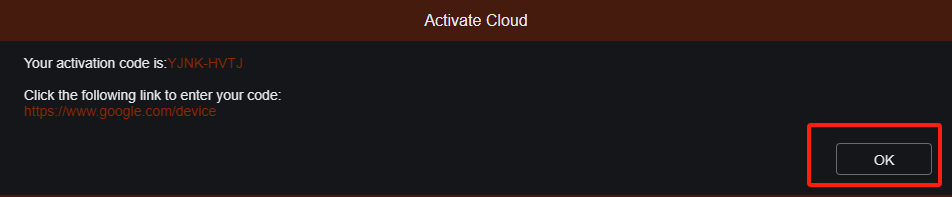
3. In the Activate Cloud window, copy the activate code and click the link.
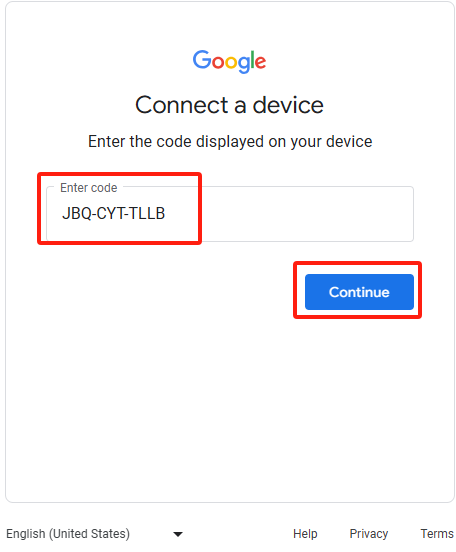
4. Enter your code and click on the Continue button.
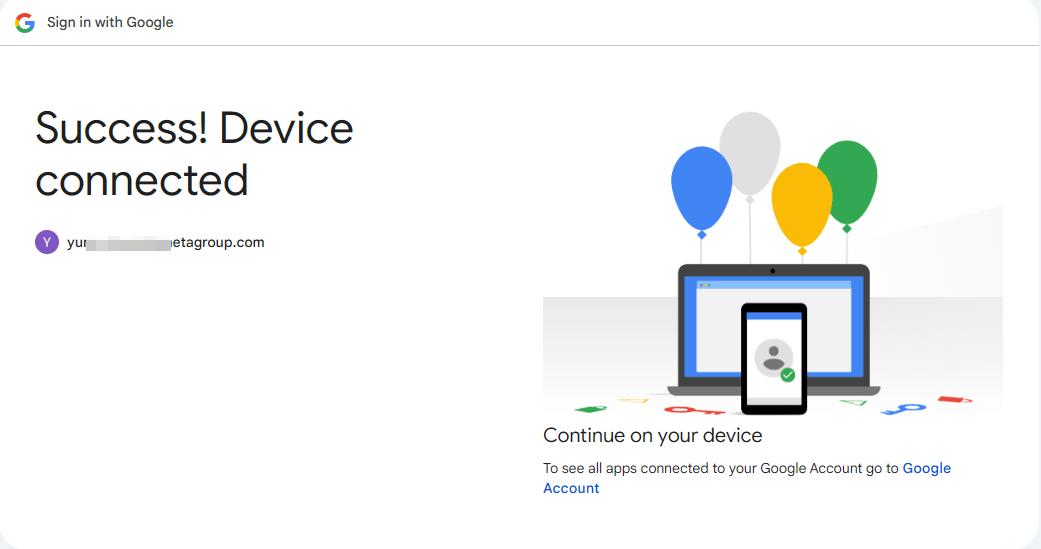
5. Choose your google account and click Continue on the next page.
6. Go back to the recorder’s webpage, click on the OK button.
7. Click the 'Save' button.
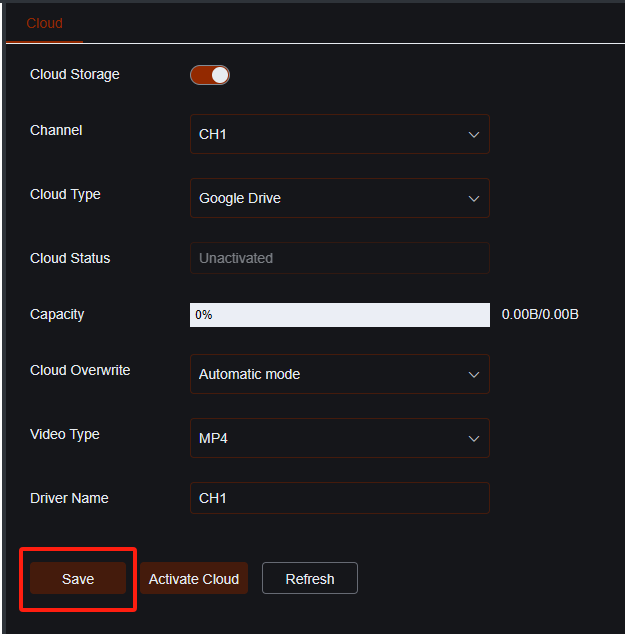
8. Click the 'Refresh' button, and the cloud status will update to 'Activated'.
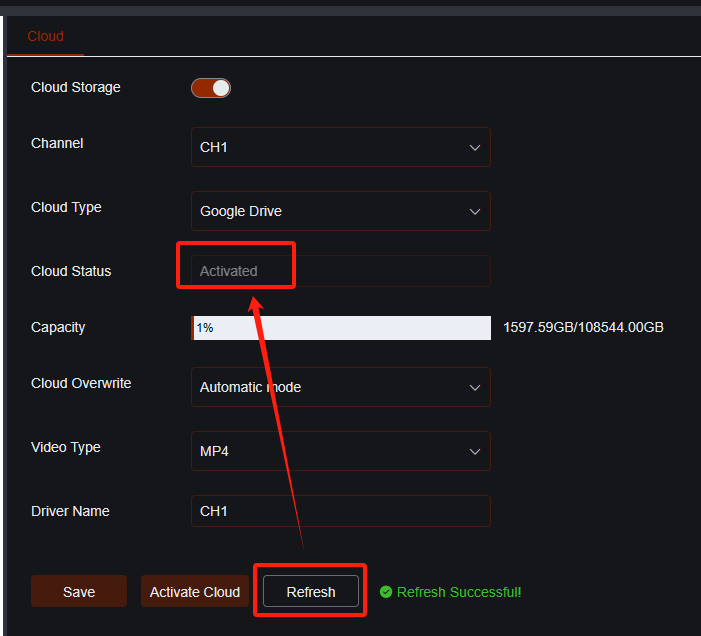
Note: After activating the cloud for one channel, all channels on this recorder will be activated automatically. Alarm pictures for all channels will be uploaded to your cloud storage (Google drive or Dropbox), as cloud-based alarm images are enabled by default for all channels.
Check the files in Cloud storage
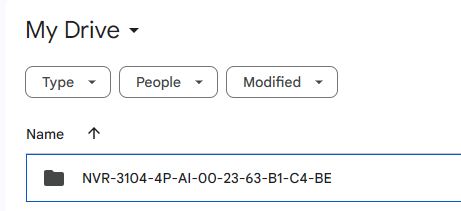
Log in to your cloud storage, and you will find a folder named after your device type. All your videos and pictures are organized within this folder.
Upload the videos and pictures to cloud storage
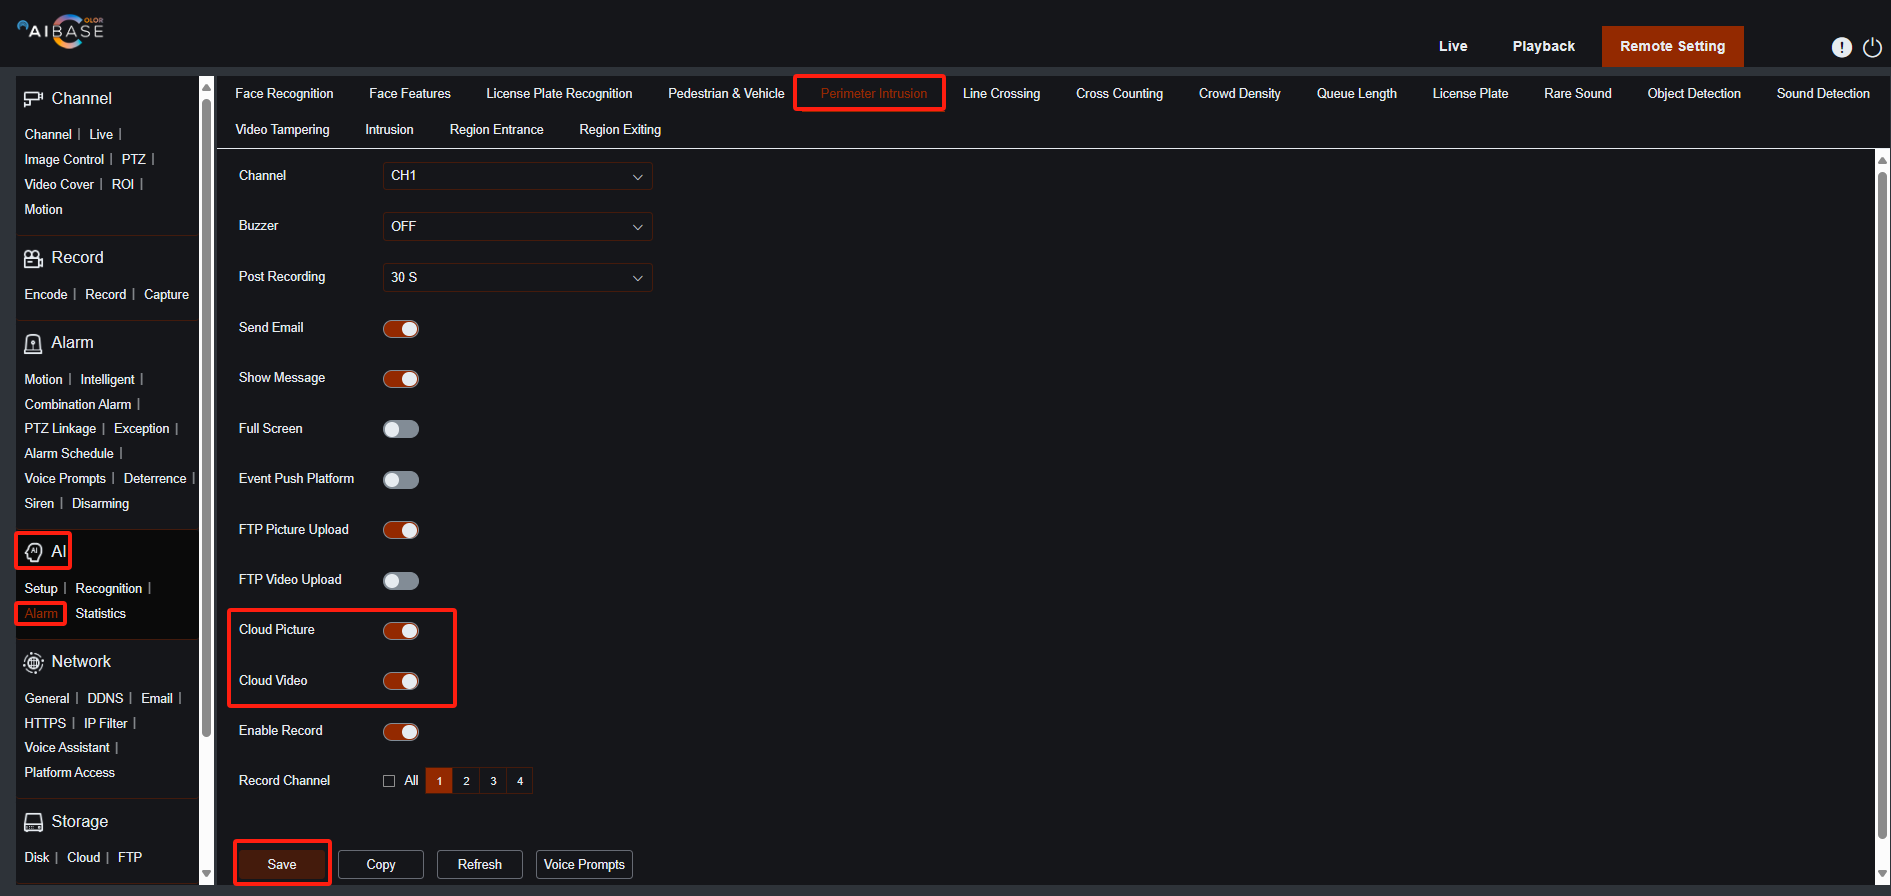
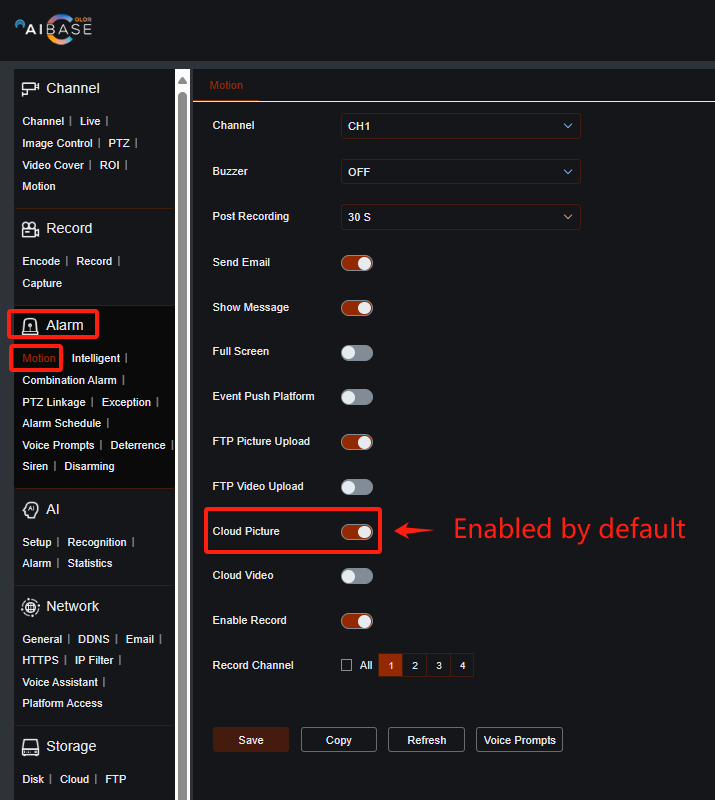
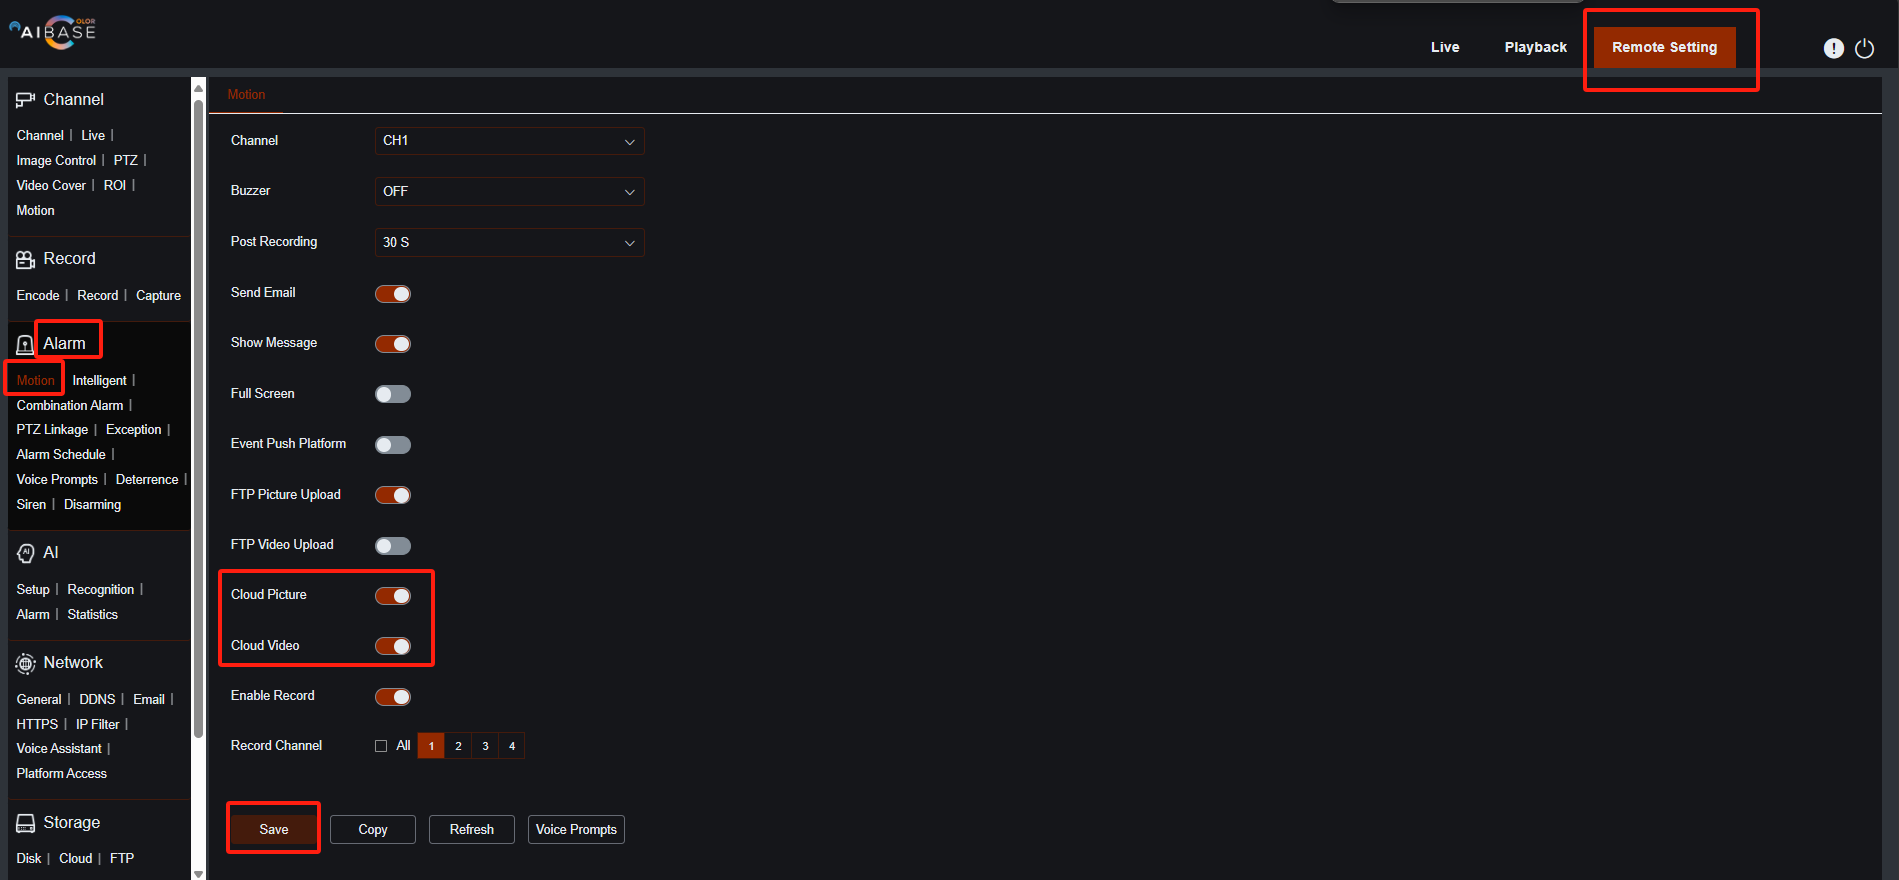
- On the recorder’s webpage, click 'Remote Settings' and select either 'Motion' or 'Intelligent' from the Alarm section. Toggle the switch to enable Cloud Picture and Cloud Video, then click the 'Save' button.
2. You can also enable Cloud Video and Cloud Picture for other AI functions by clicking on 'Alarm' in the AI section. Select an AI function and enable the feature on its Alarm configuration page.
Note: The Face Recognition, License Plate Recognition, and Pedestrian & Vehicle AI functions can only upload pictures to cloud storage.