Description:
This article demonstrates how to modify the parameters of an analog camera using the OSD menu, with the AiBase DVR as an example for your reference.
Related question:
- How to Access the OSD Menu
- How to Adjust the Resolution of an Analog Camera
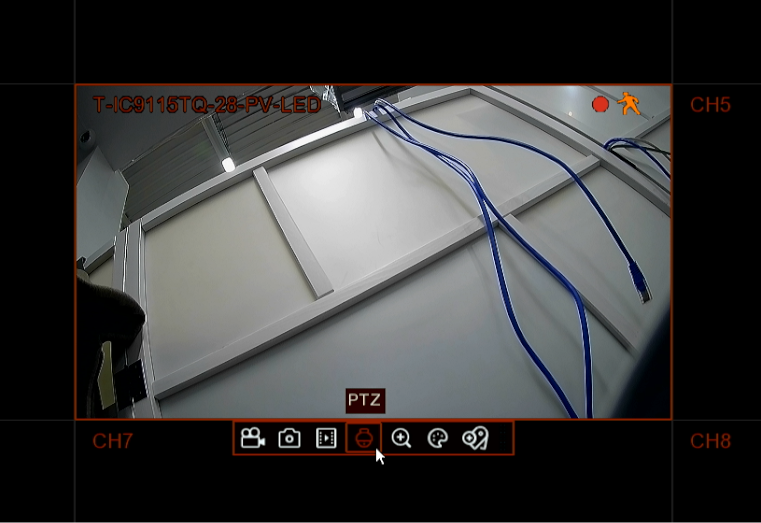
On the Local Monitor
- On the Live View page, click the channel you want to modify, then click the PTZ icon to access the PTZ Control page.
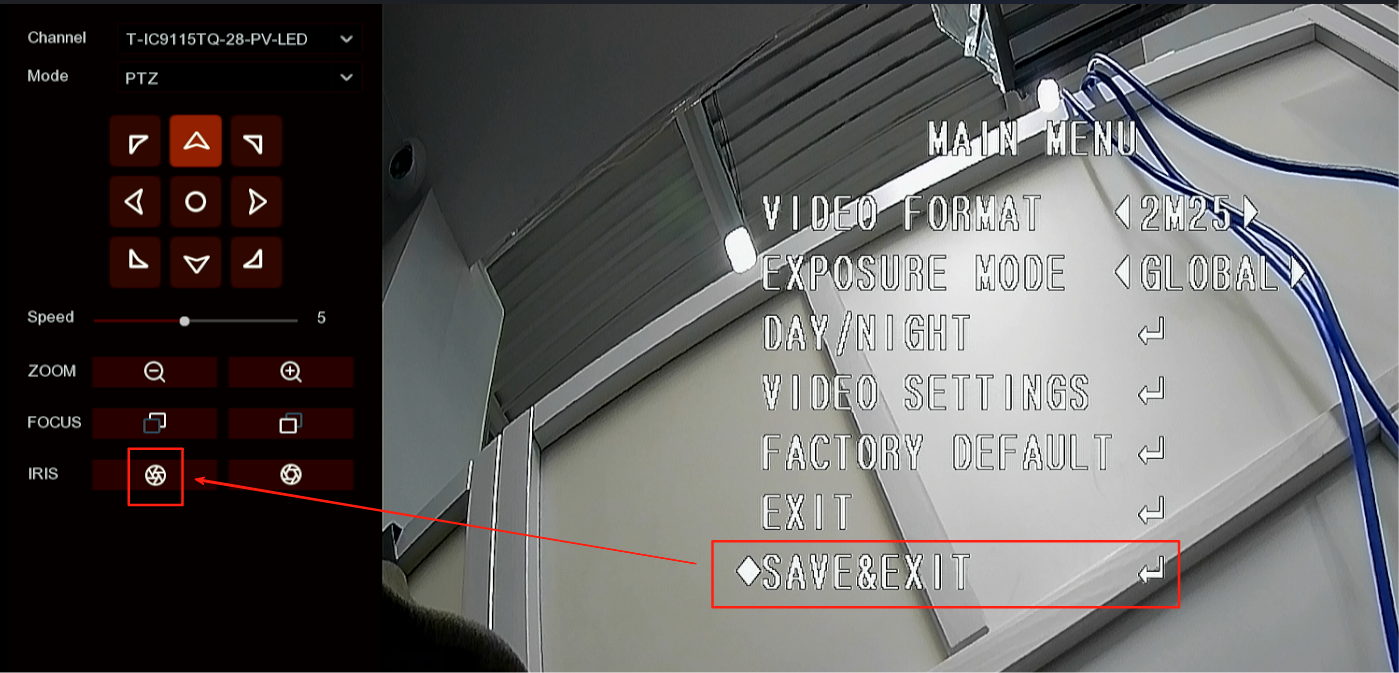
2. Click the IRIS- icon to open the OSD menu. For DVRs from other brands, try the IRIS+ button if the IRIS- button does not work.
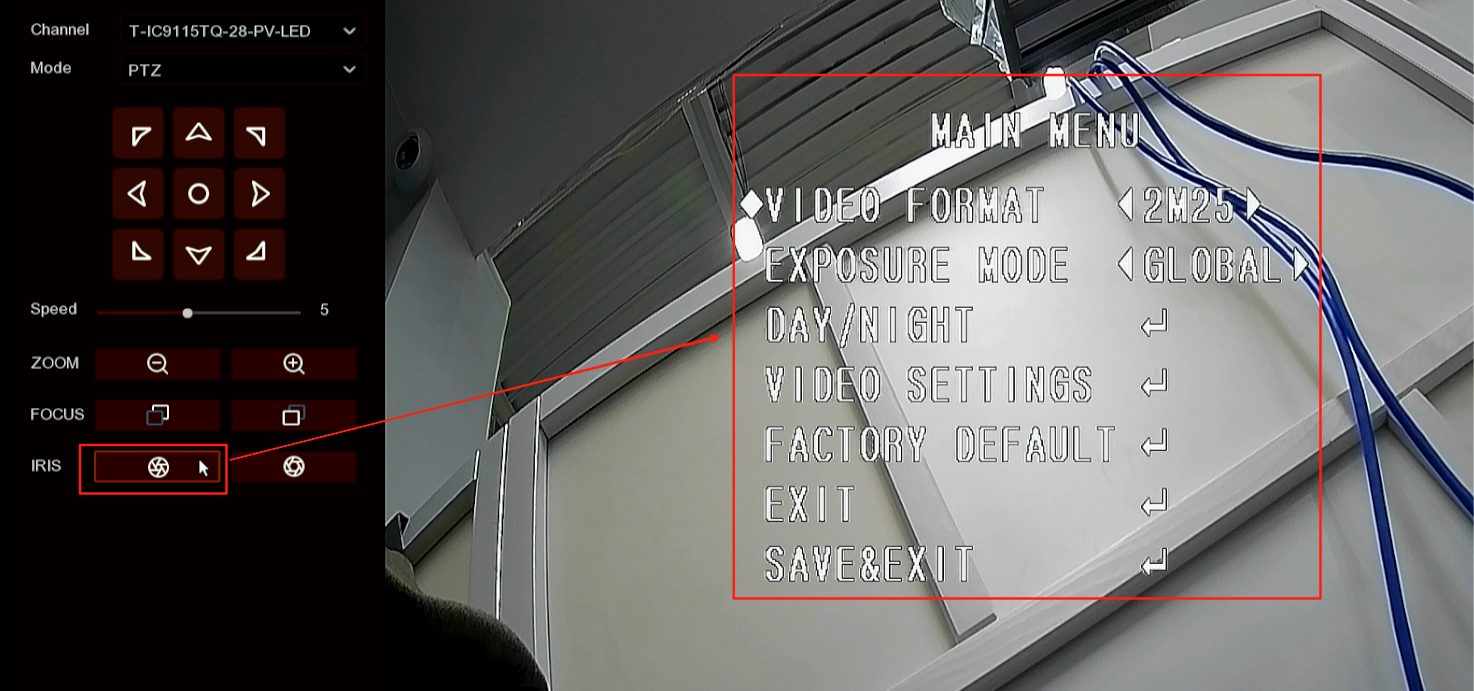
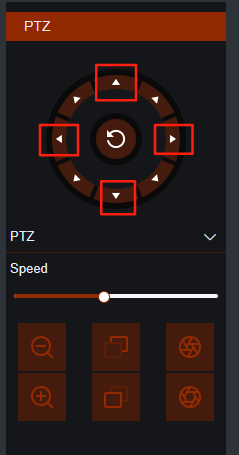
3. Use the Up and Down buttons to navigate between different parameters and use the Left and Right buttons to adjust their values.
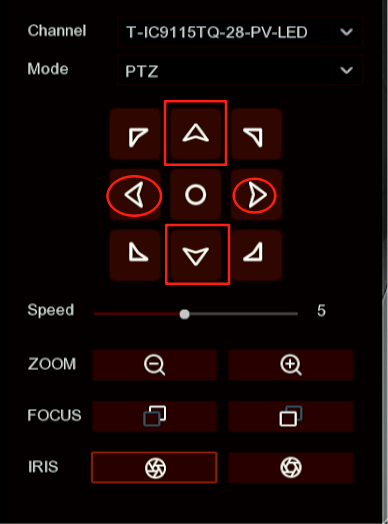
4. After making the adjustments, navigate to 'SAVE & EXIT' and click the IRIS- button to save your changes and exit the OSD menu.
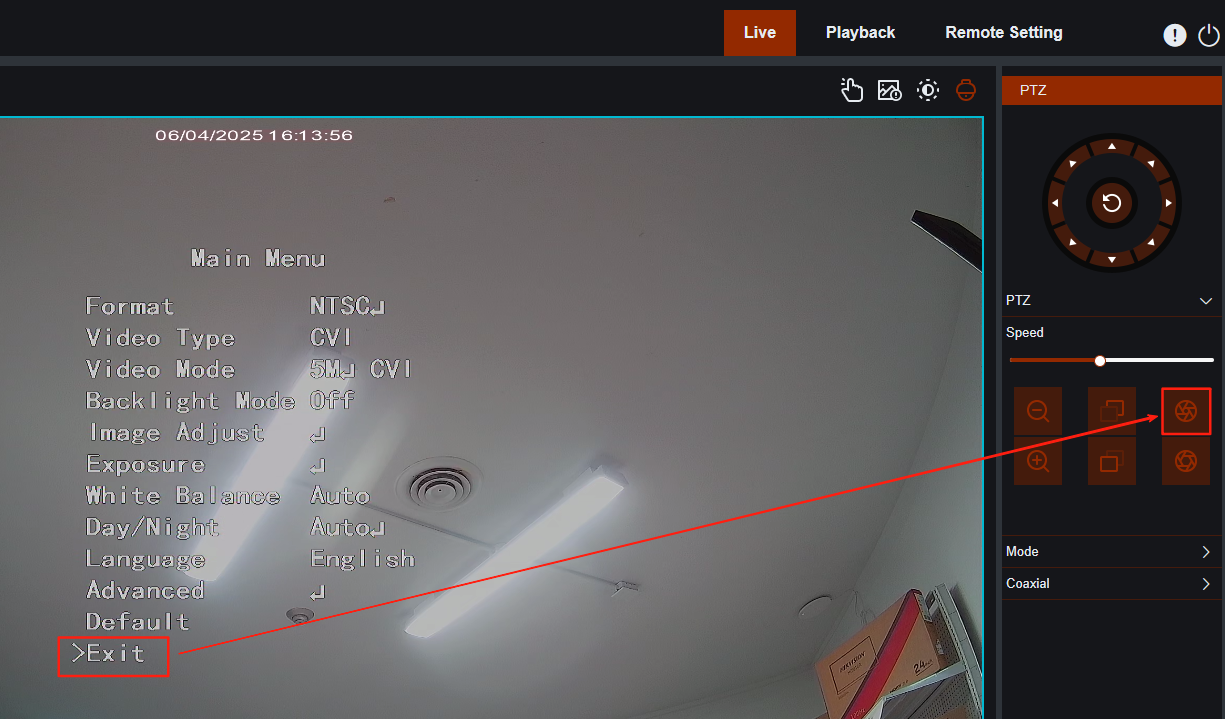
On the NVR’s Web page
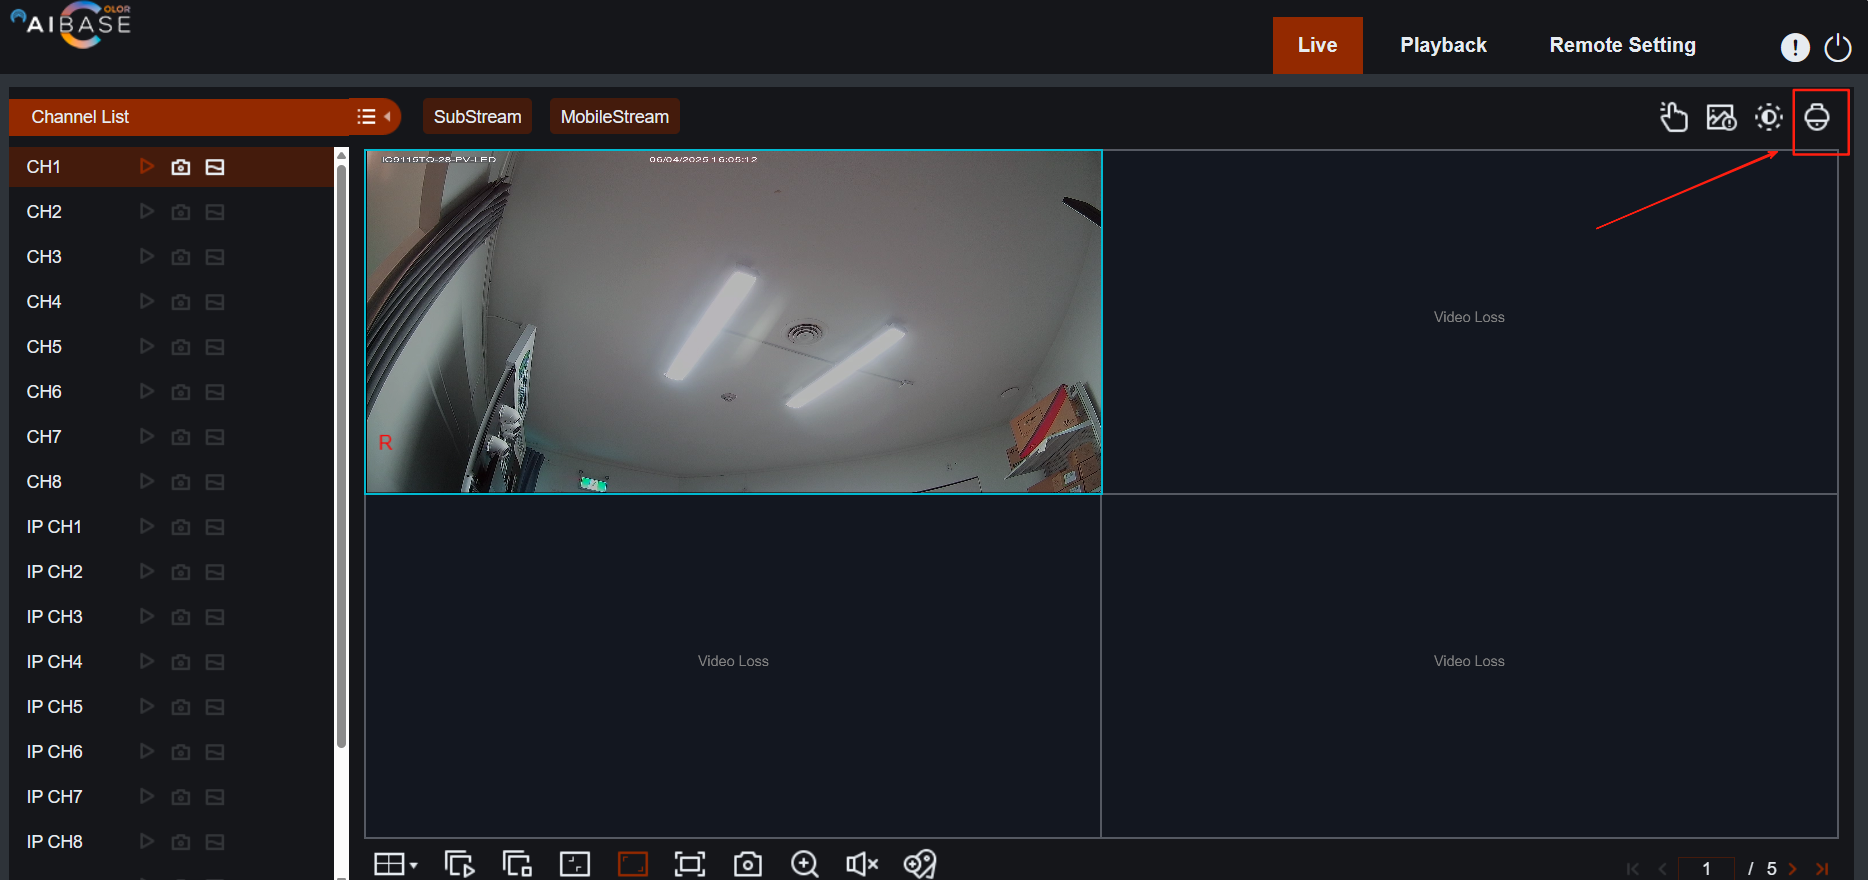
- Click the live view of the channel you want to configure, then click the PTZ icon in the top-left corner.
2. Click the IRIS- icon to open the OSD menu. For DVRs from other brands, try the IRIS+ button if the IRIS- button does not work.
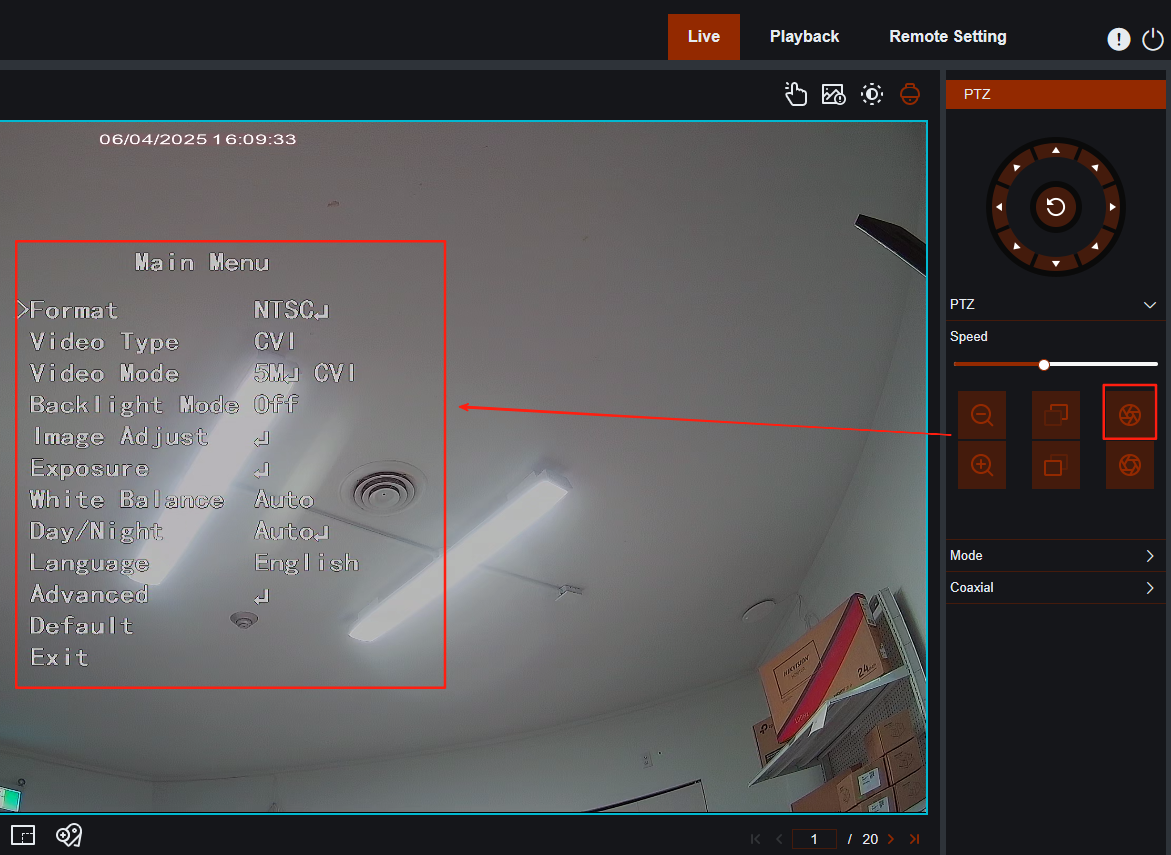
3. Use the Up and Down buttons to navigate between different parameters and use the Left and Right buttons to adjust their values.
4. After making the adjustments, navigate to 'SAVE & EXIT' and click the IRIS- button to save your changes and exit the OSD menu.