Step 1: Make your DVR/NVR IP address as static IP respective to your router IP series. (Make sure your router connected the public IP, otherwise it can’t work with DDNS). For example: DVR/NVR: settings -> Network -> TCP/IP -> assign static IP

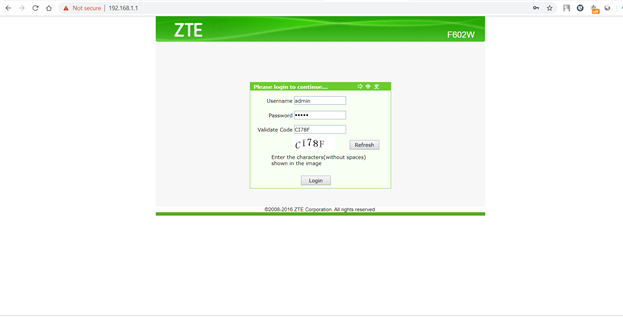
Step 2. Log in to your router as admin. (ex. 192.168.1.1)
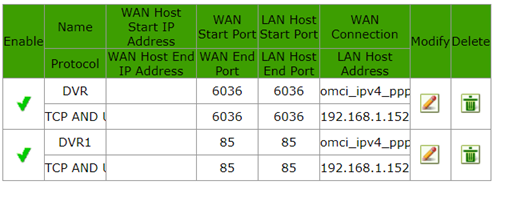
Step 3. Locate the port forwarding options.
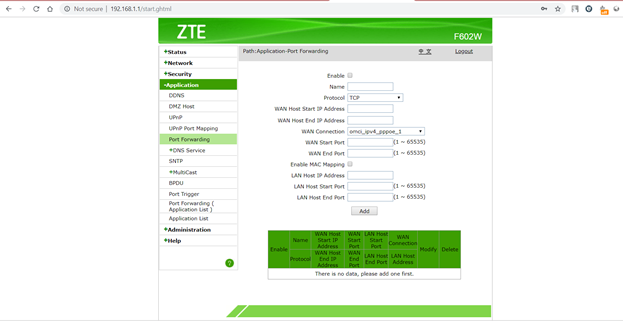
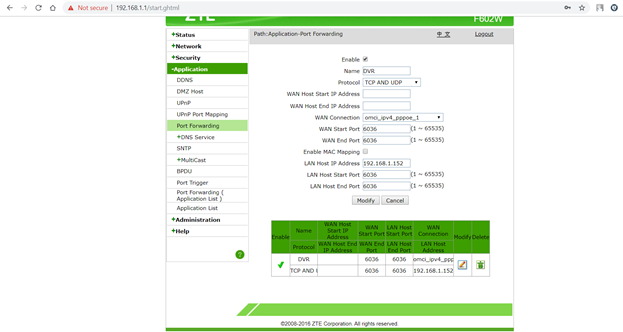
Step 4. Enable.
Type the port number or port range that you want to forward. (NVR/DVR Data port-6036;
IPC Data port--9008) And (TCP port -85) change the default TCP 80.
Pick the protocol, both TCP and UDP.
Type the static LAN IP address you’re DVR/NVR.
Step 5. To check port number close or open plz visit https://ping.eu/port-chk/
Click on “your IP “address option.
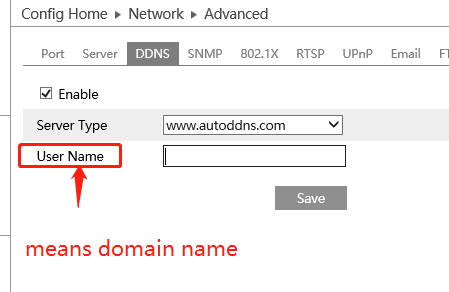
Enter your port number and hit “Go” option (check both ports separately) Step 6. In DVR/ NVR go to Network -> DDNS -> Enable DDNS.
Enter any unique Domain name for registration.
Then click register (if failed re-enter domain name)
After successful register click apply.
Step 7. Open your Domain name in internet explorer.
http://abcd123456.autoddns.com:85
After login your will get DVR/NVR login page.
For example: IPC autoddns setting