Door Controller Setup
Description
This article will go over the basics of setting up Users and Access Rights for the Four Door Controller
There's two steps involved in the this process
Creating a User
Creating Door Lists to grant access to the users
In this example we used the DHI-ASC1204B four door controller with four of our Dahua card readers, and a generic Mifare 13.56MHz key fob
Prerequisites
DHI-ASC1204B or DHI-ASC1204C
Card Readers
SmartPSS v2.02
Mifare IC Cards 13.56MHz
Step by Step Instructions
Step One: Adding the Four Door Controller to SmartPSS and Creating a User
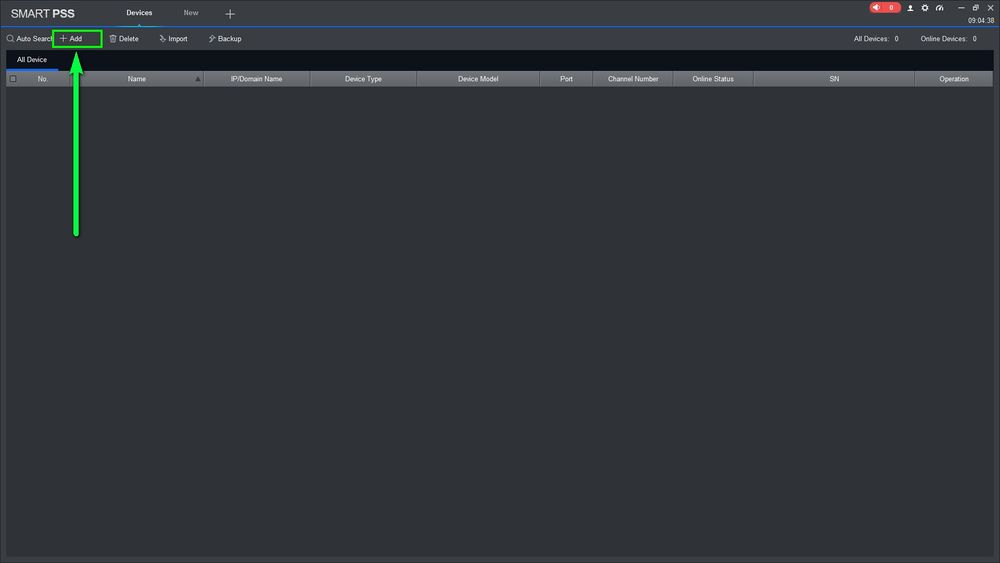
We need to add the Controller to SmartPSS so open SmartPSS and click on "Add"
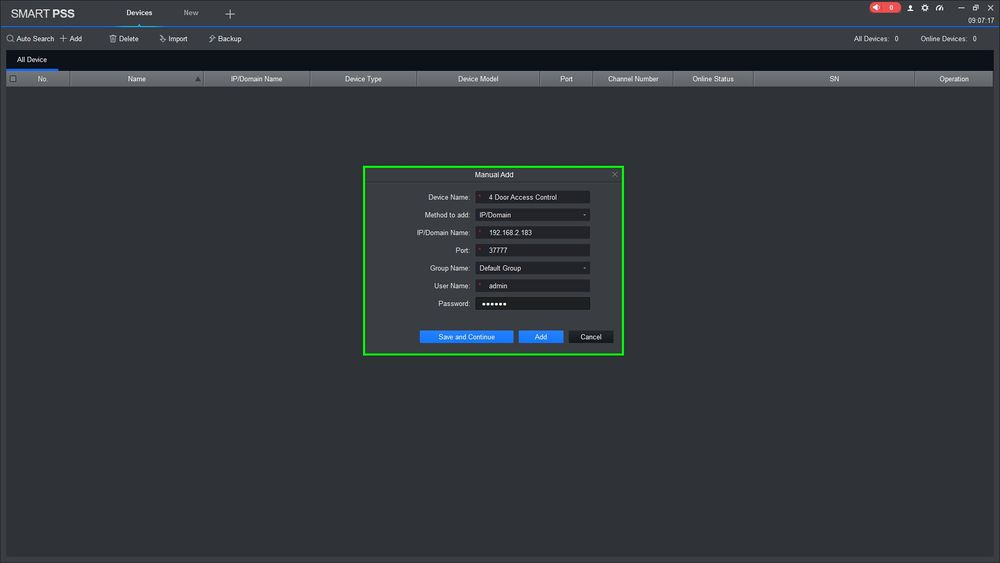
By default the controller will have an IP Address of 192.168.0.2, username:admin, password:123456. We changed the default with Configtool to get it on the network
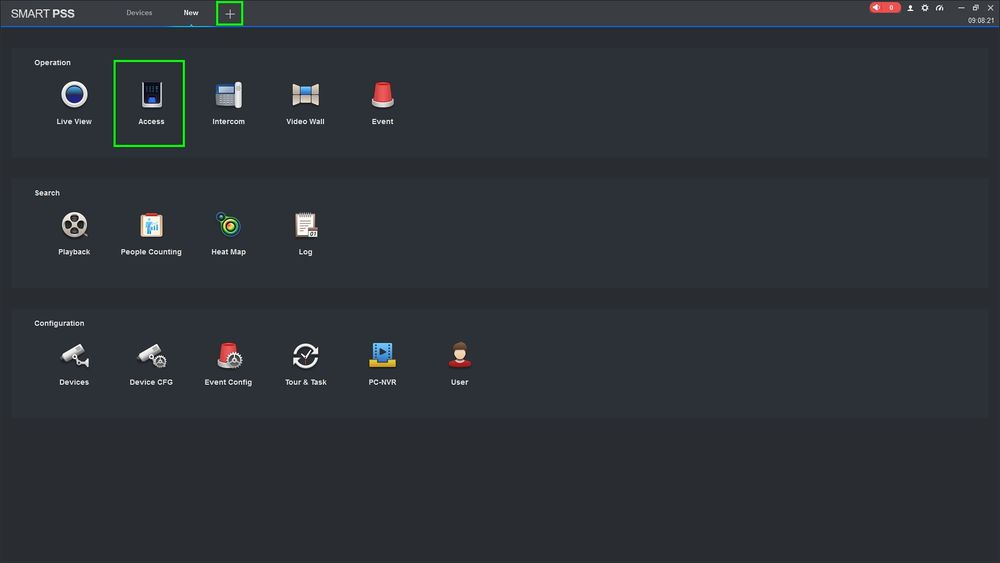
Open a new tab by clicking on the "+" icon at the top bar and go to "Access"
You should now see the active doors, We need to create a User so click on the "User" tab.

Click on the Manual Add icon and a pop-up window will come up

Input the information you want on the user, now select drop-down menu
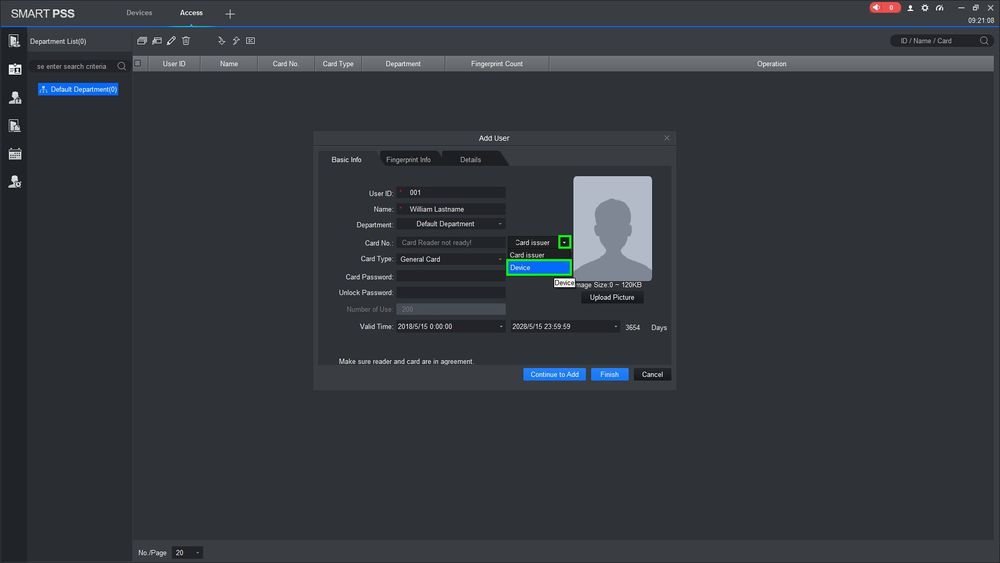
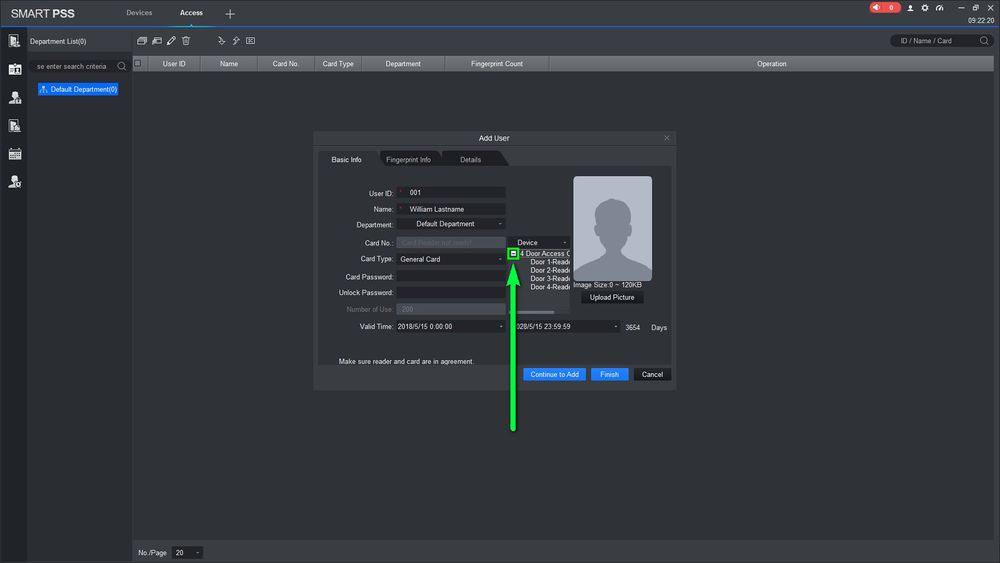
You can use one of the reader to enroll a card so select the reader you'd like to use
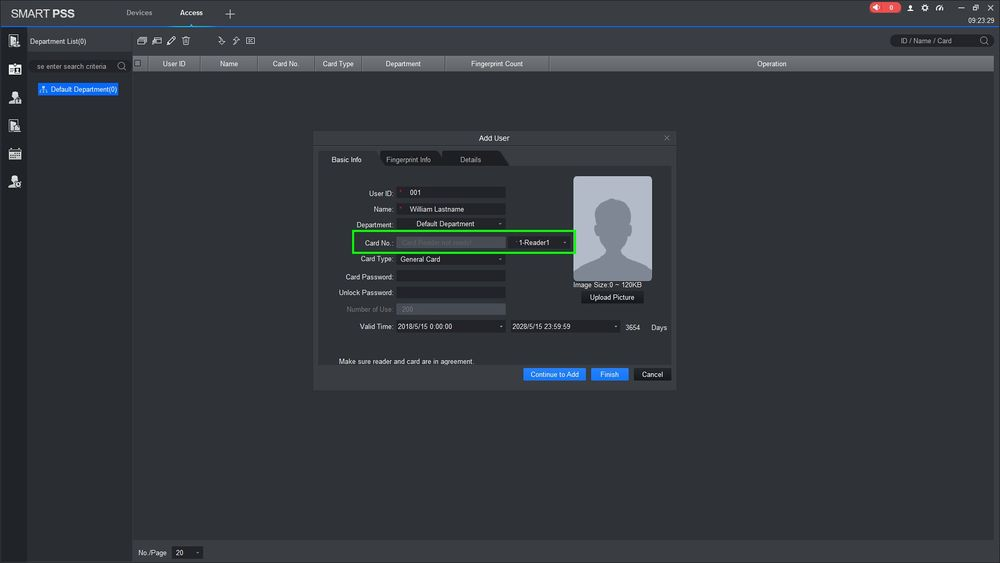
The box says "Card Reader not ready" but it's okay just scan the card and the number should populate on the box
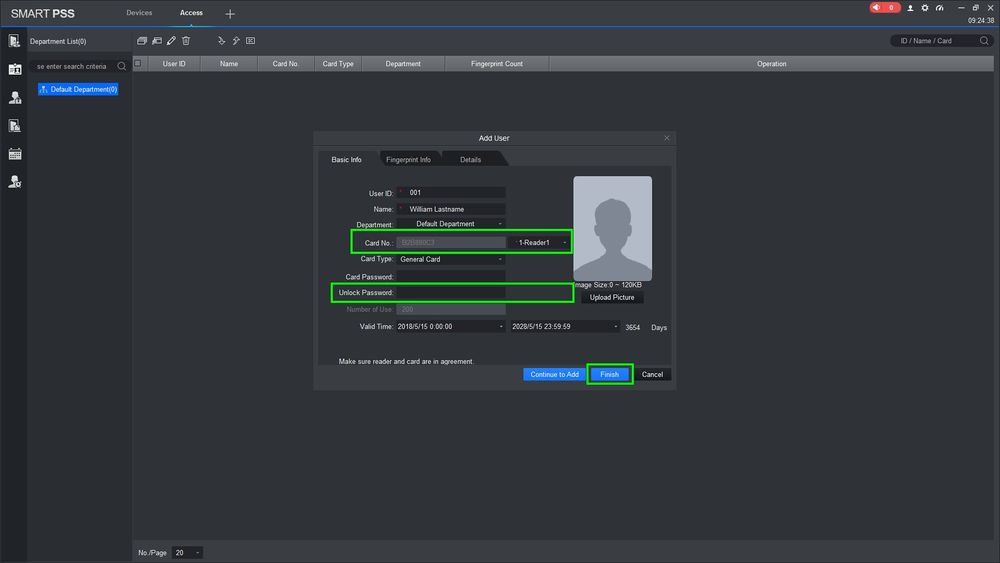
As you can see the number populated and you may also input an unlock code if your reader has a number pad
Step Two: Creating a door list and granting access to users
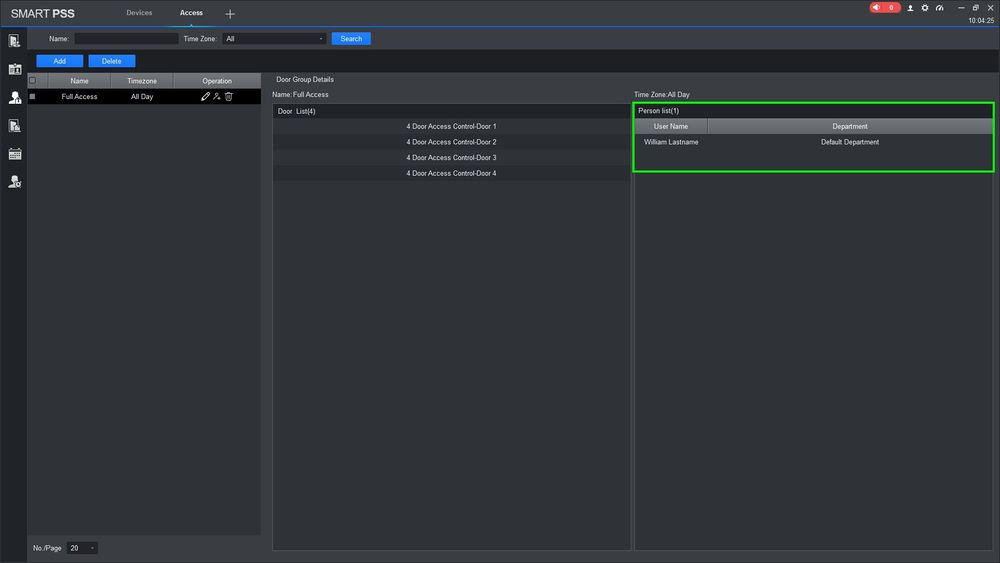
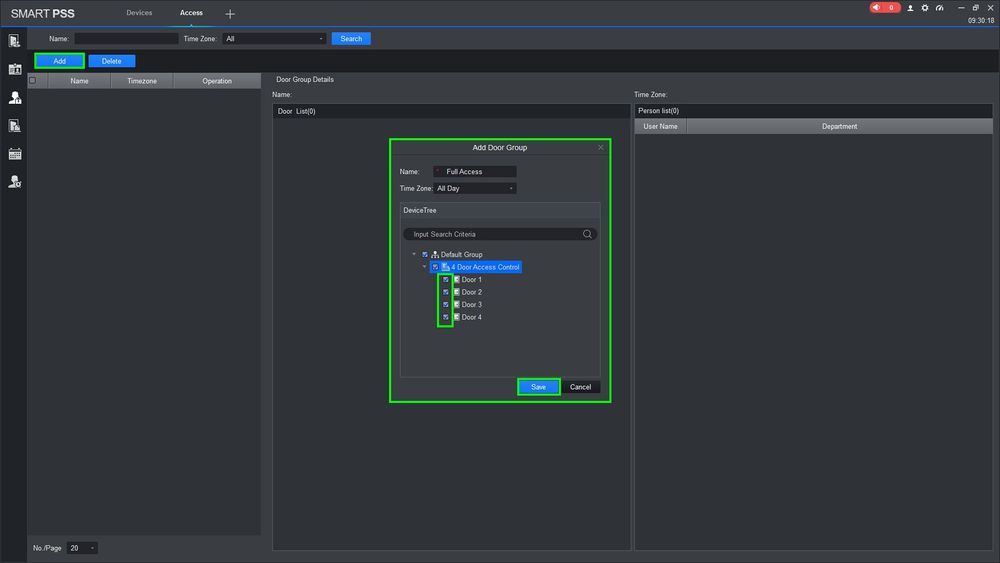
Go to the Access Control tab and click on "Access Level"

Click on "Add" and select the doors you want on the list, save it when you're done
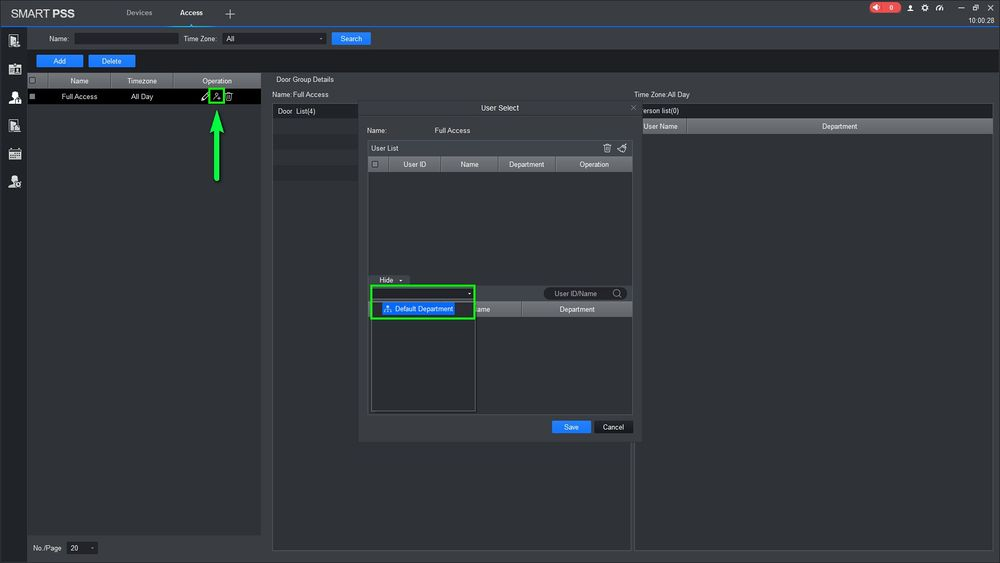
You should now see the door list populate on the left, click on the "user" icon and a pop-up window will come up, select the department where the user is under
The user will come up and click on the check box, the user will now be added to the door list. Click on "Save"
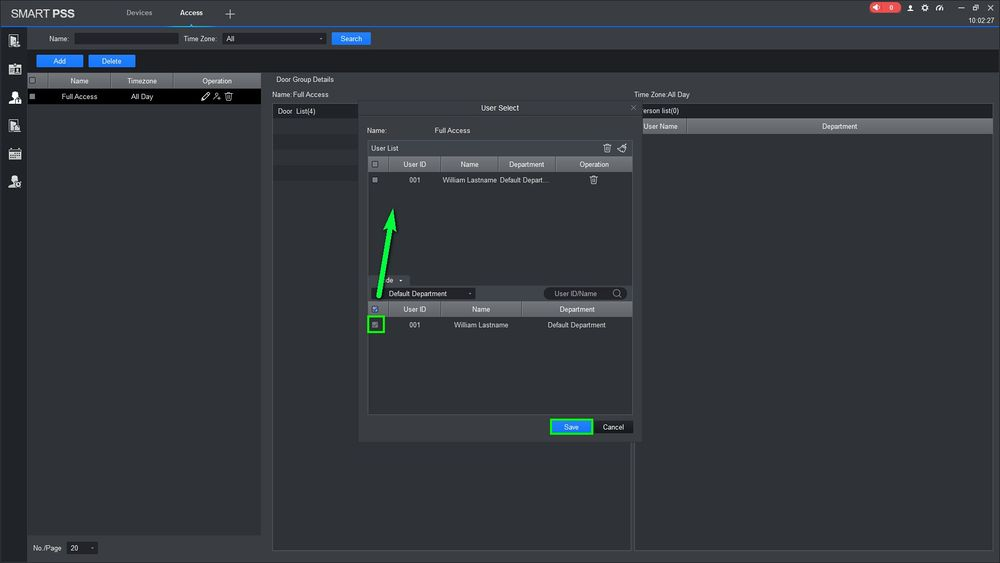
Wait for the rights to transfer to the controller

User now has access to open the doors