Audio Record Setup
Description
This article will go over setup for audio recording on our New GUI devices
Prerequisites
Recorder with New GUI
Supported camera with built in Microphone
OR
Supported microphone plugged into device and powered on
Note: Please reference the specification sheet for the device to confirm which audio features it supports, this can vary between models of recorder
Step by Step Instructions
Enable audio source
-
- Login using a web browser.

- Login using a web browser.
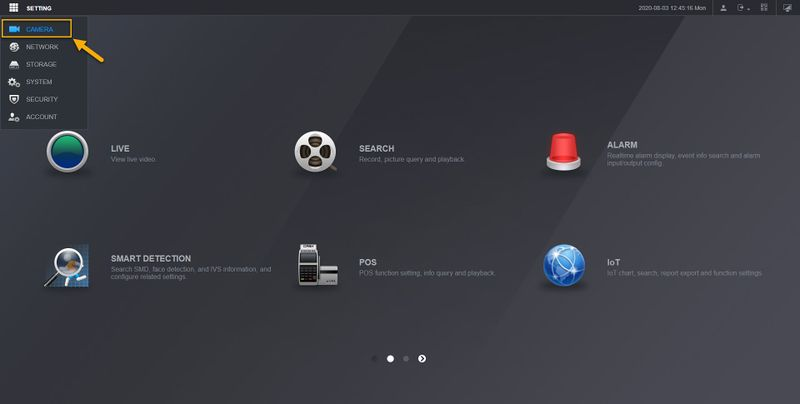
- Click on Setting > Camera.
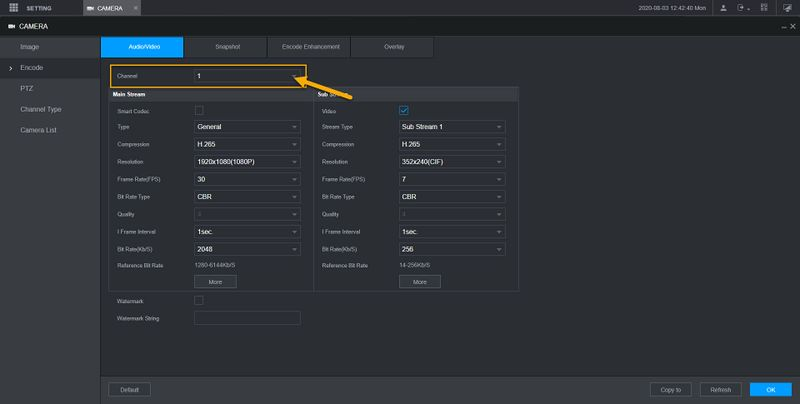
- Click on Encode. And then select the camera channel that support audio.
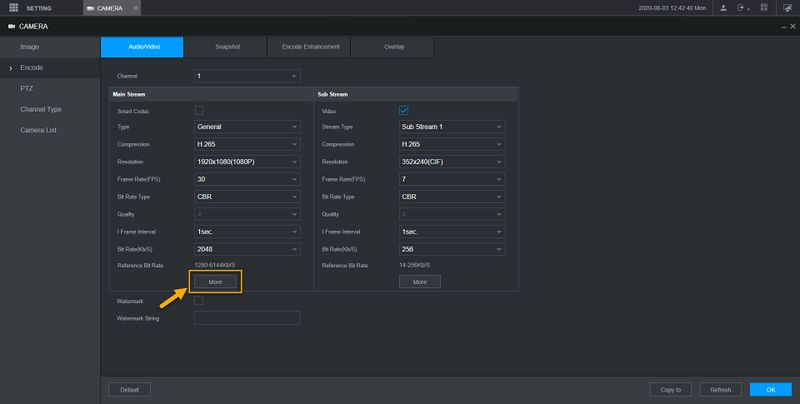
- Click on More.
- Click on the checkmark to enable Audio.
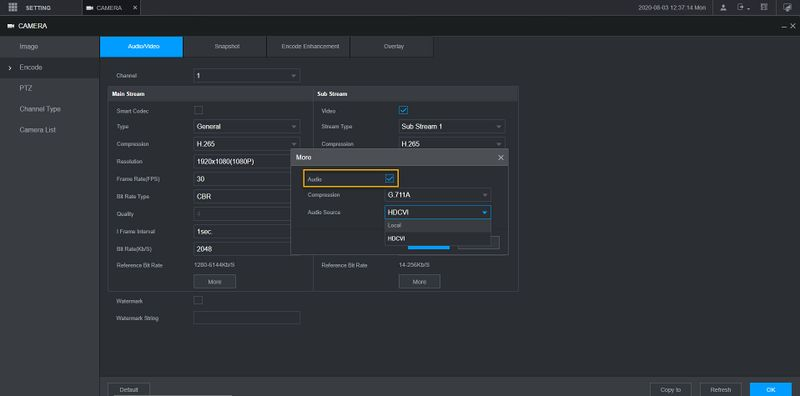
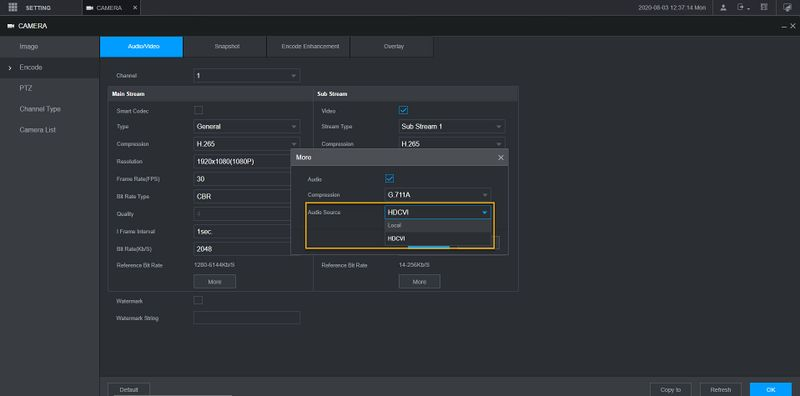
- Select the Audio source for your HD-CVI camera. If your HD-CVI camera has built-in Microphone, select HDCVI as the audio source. Local option is if you are connecting external microphone to the recorder.
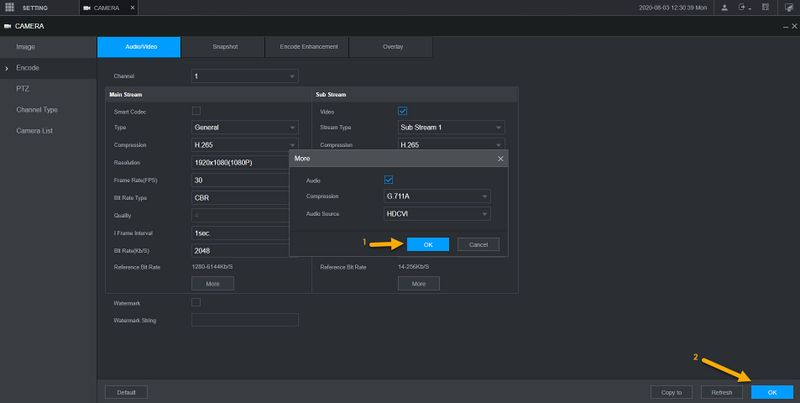
- Click OK, and then click OK again on the bottom right hand corner.
Setup audio recording - Login using a web browser.

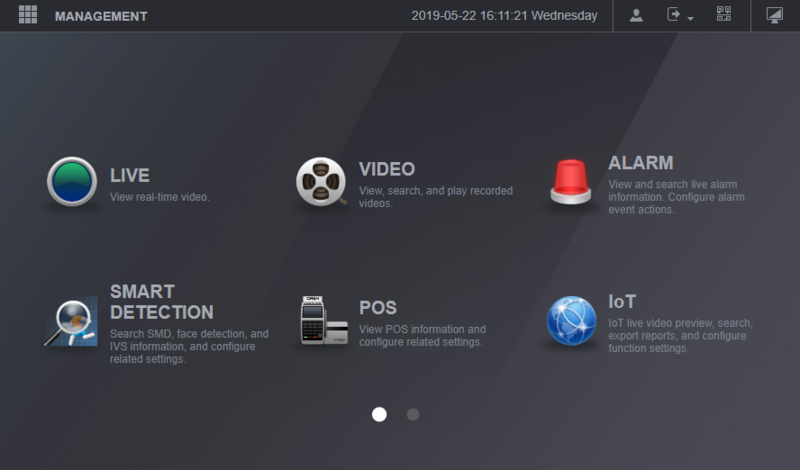
- Main menu 1st screen.
- Main menu 2nd screen.
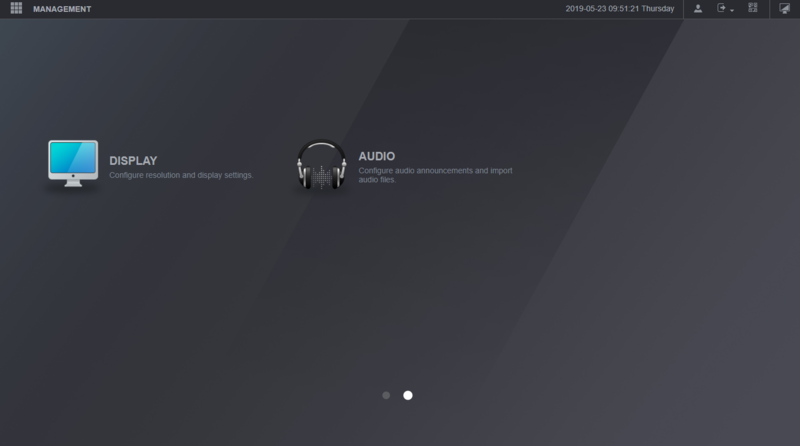
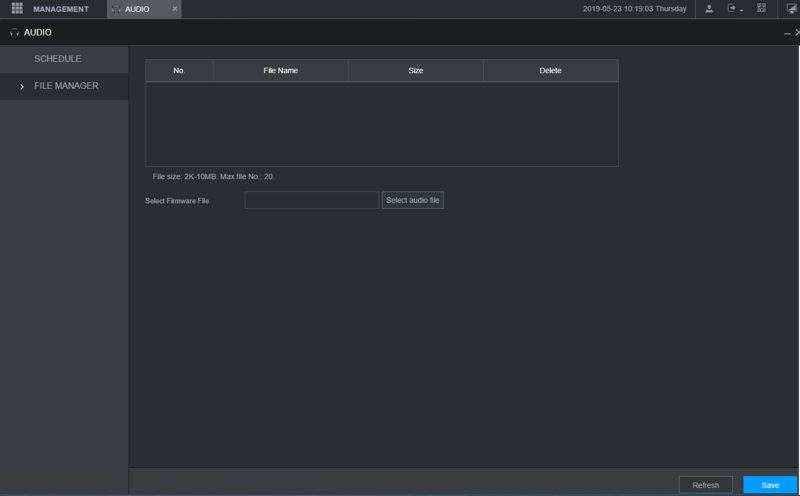
- Click on the Audio Option.
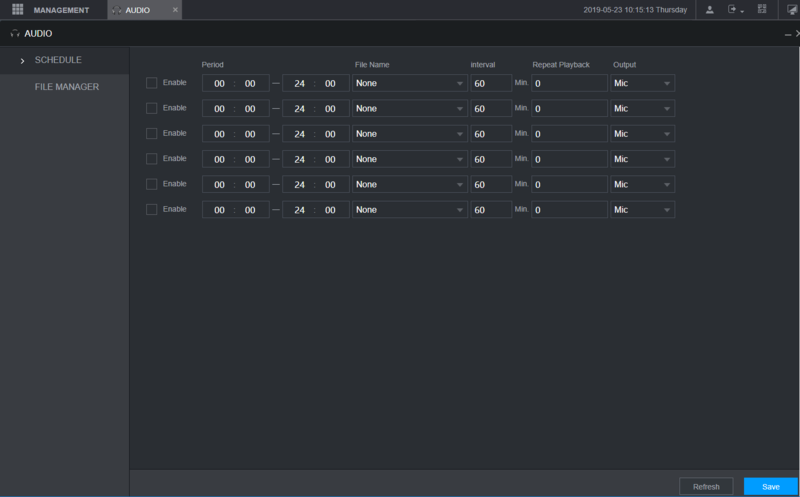
- Audio File Manager Option.