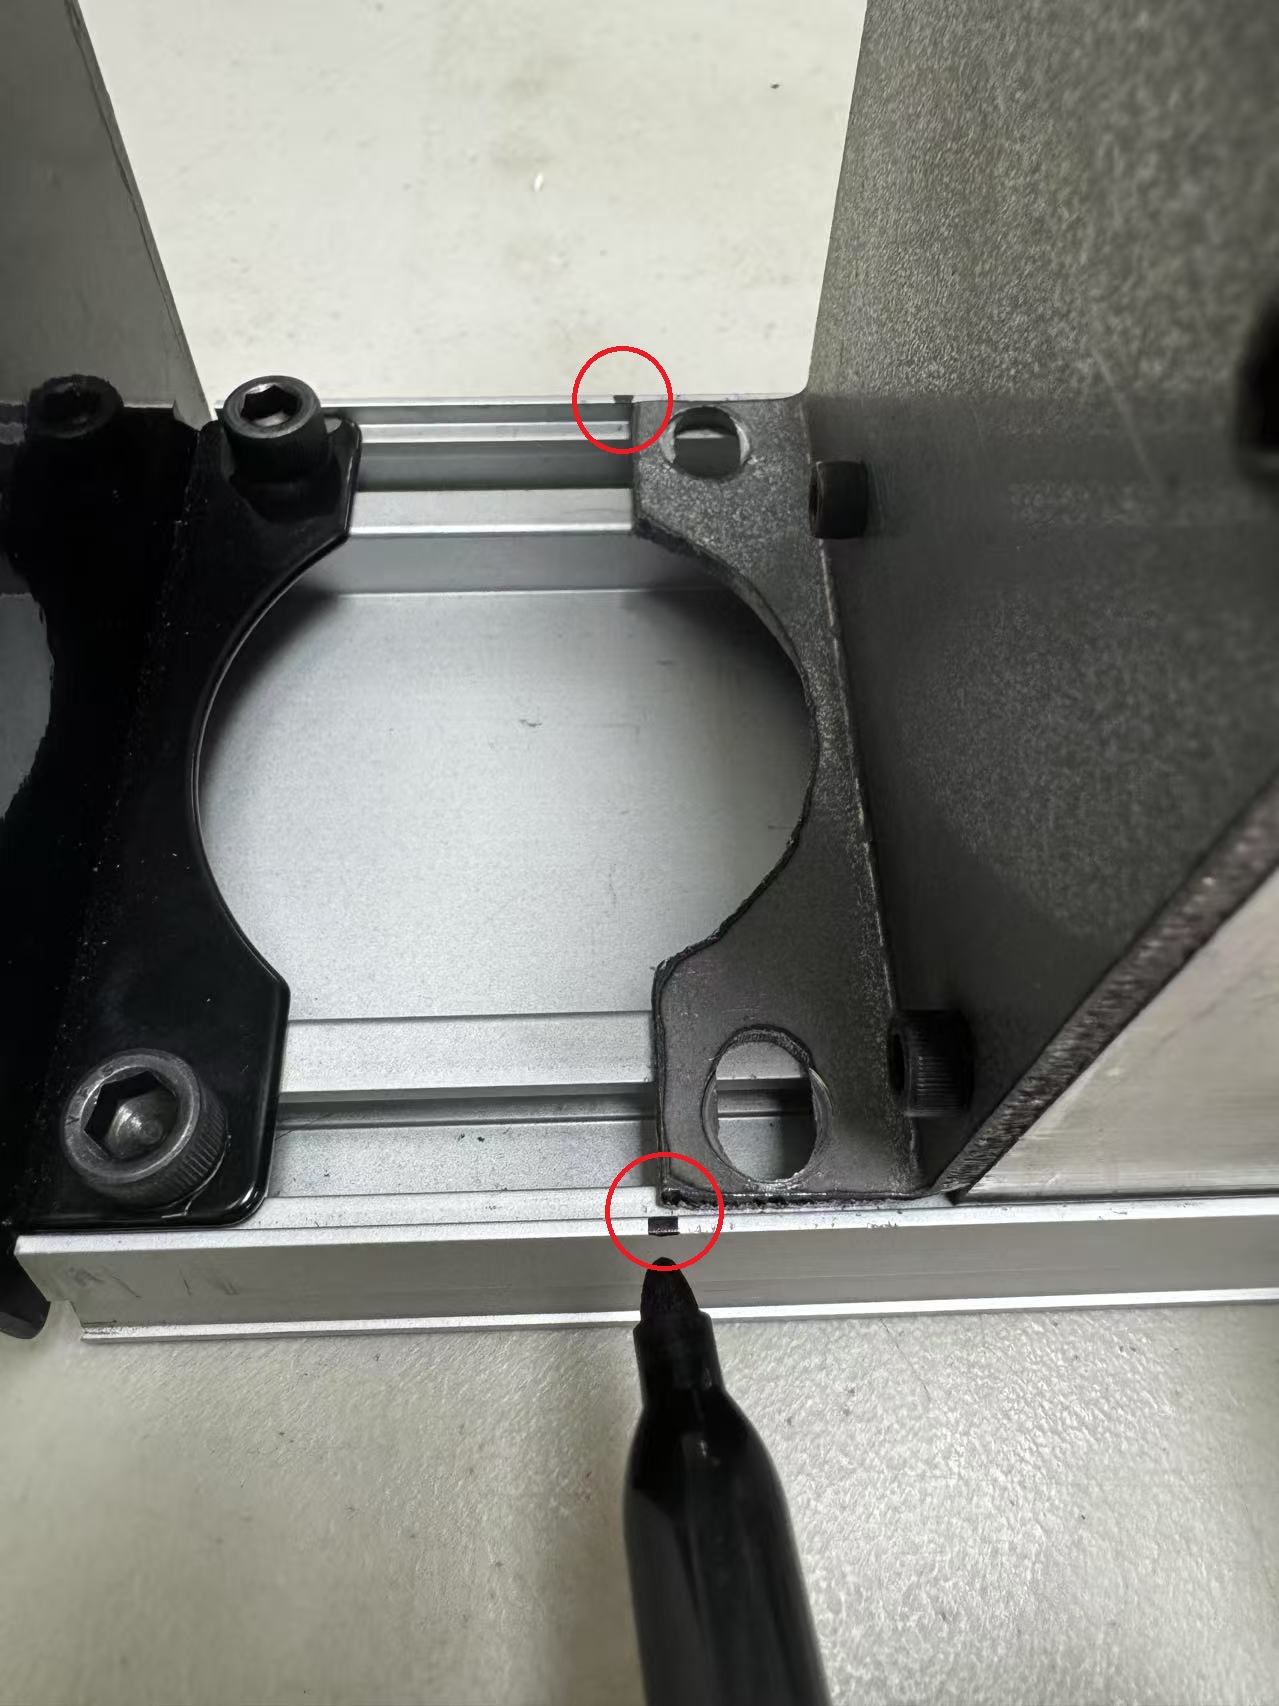
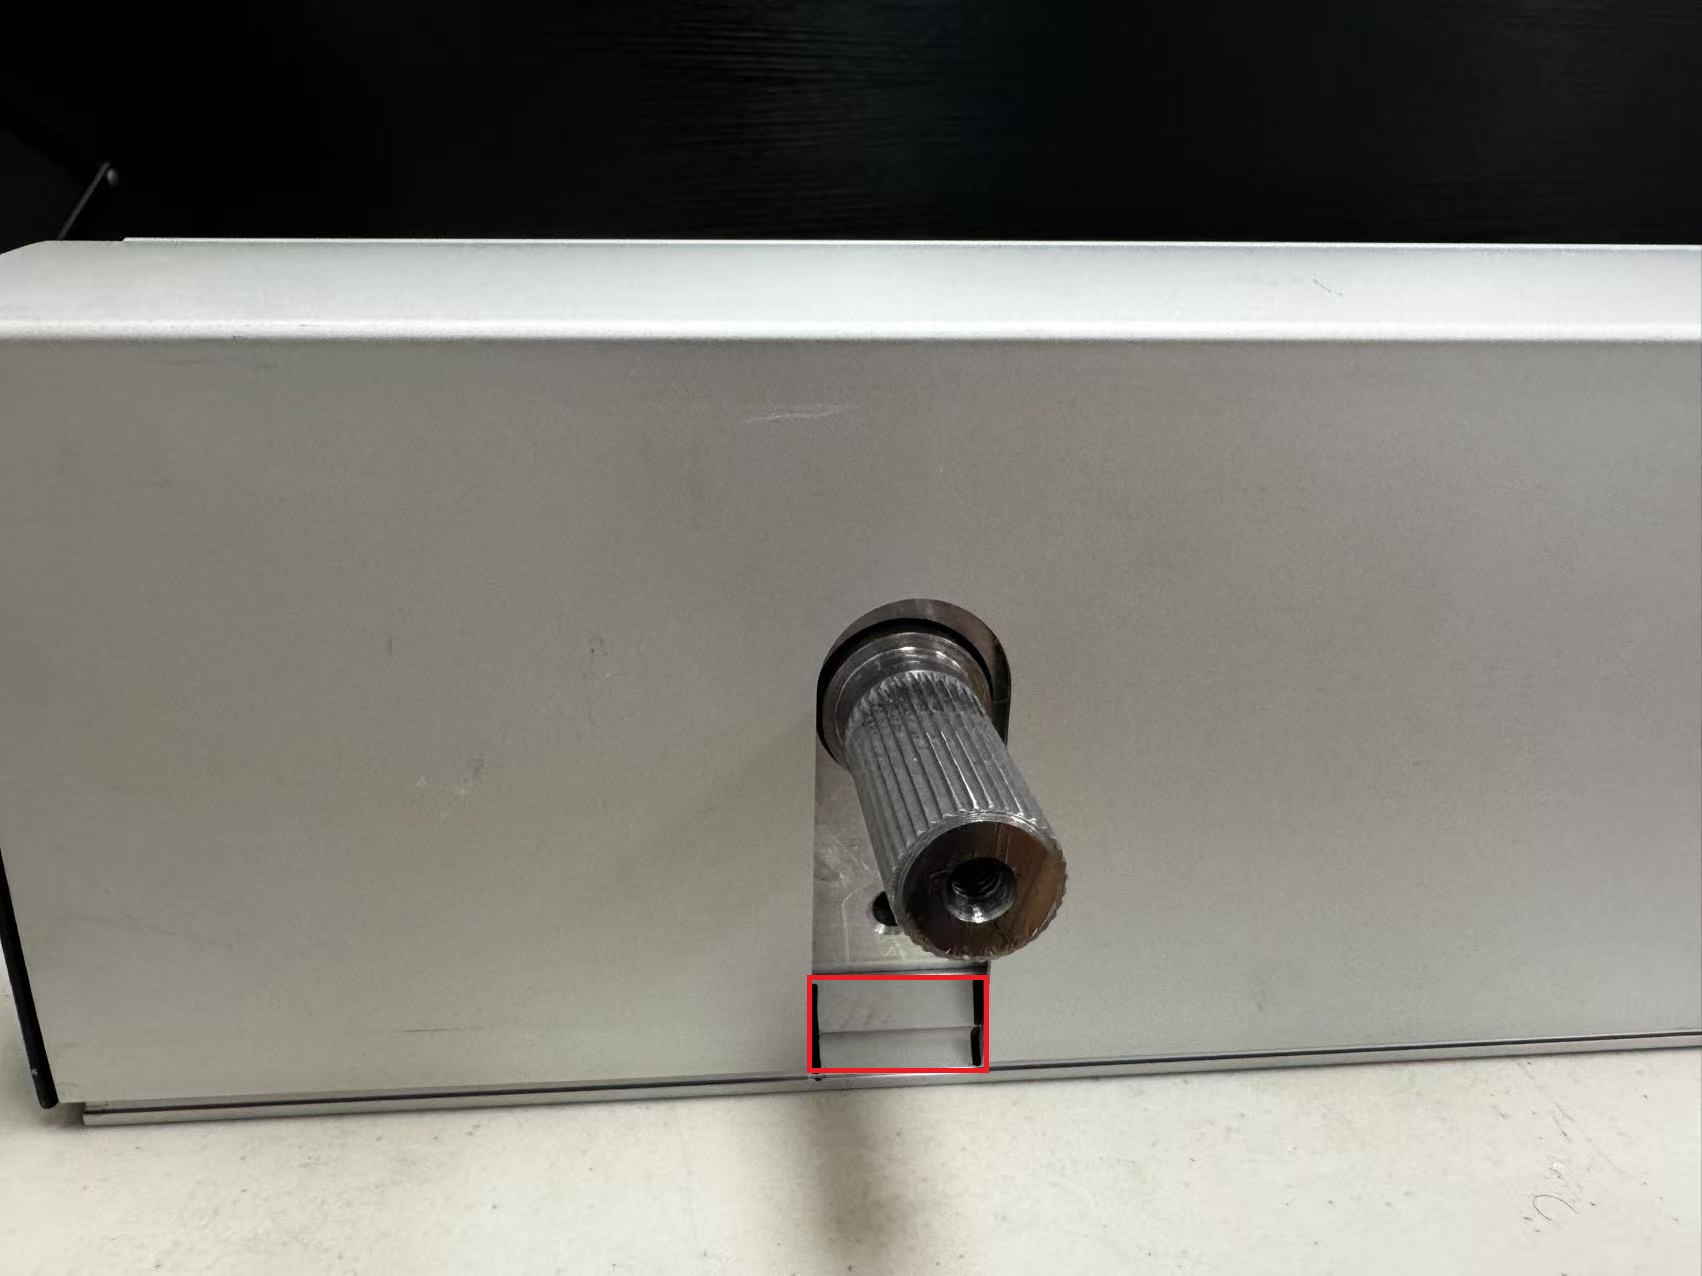
Step 1: Mark Point
-
When you first open the operator cover, mark the screw points around the gearbox.
-
This step is to make sure that when you put the operator cover back, you will have the accurate gap for the spindle
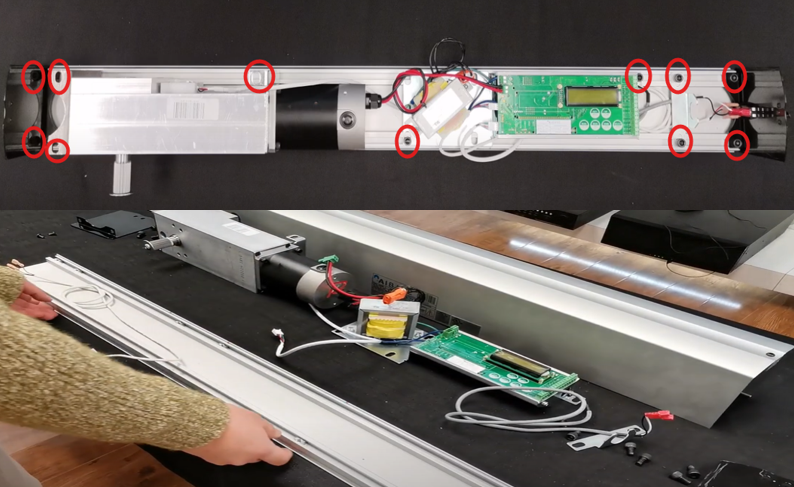
Step 2: Clear Header Unit
- Remove all screws and take all components out from the header unit.
Step 3:
Push Installation
- Below example image is a push installation
- Install the unit bottom flush with the bottom of the door frame.
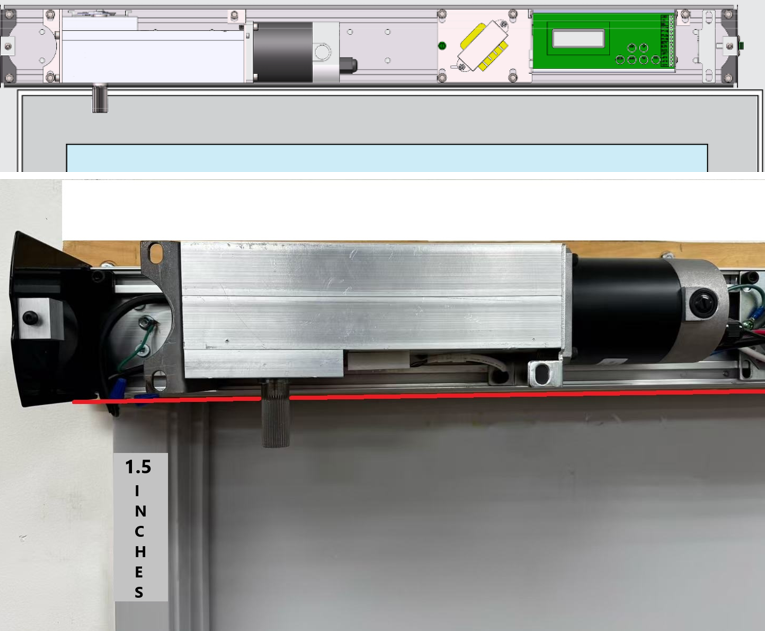
- A spacer or filler plate made of solid material may be required to compensate for any gap between the door frame, header unit and mounting surface.
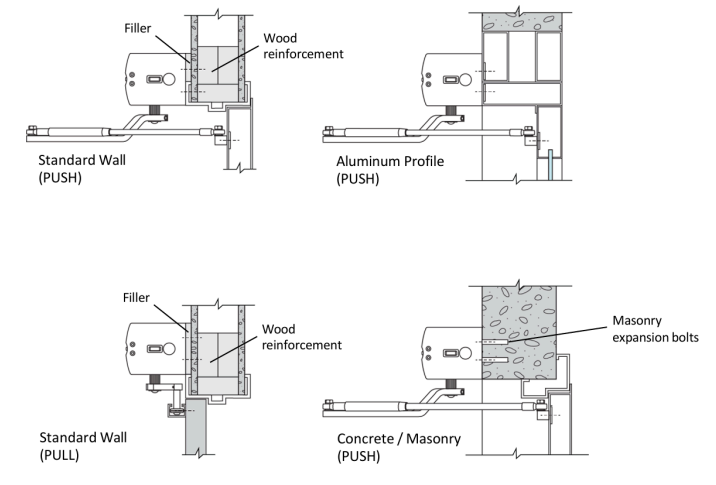
Pull Installation
- Below example image is a pull installation.
-
Find the wall stud position and mark the relative screw points on the header unit.
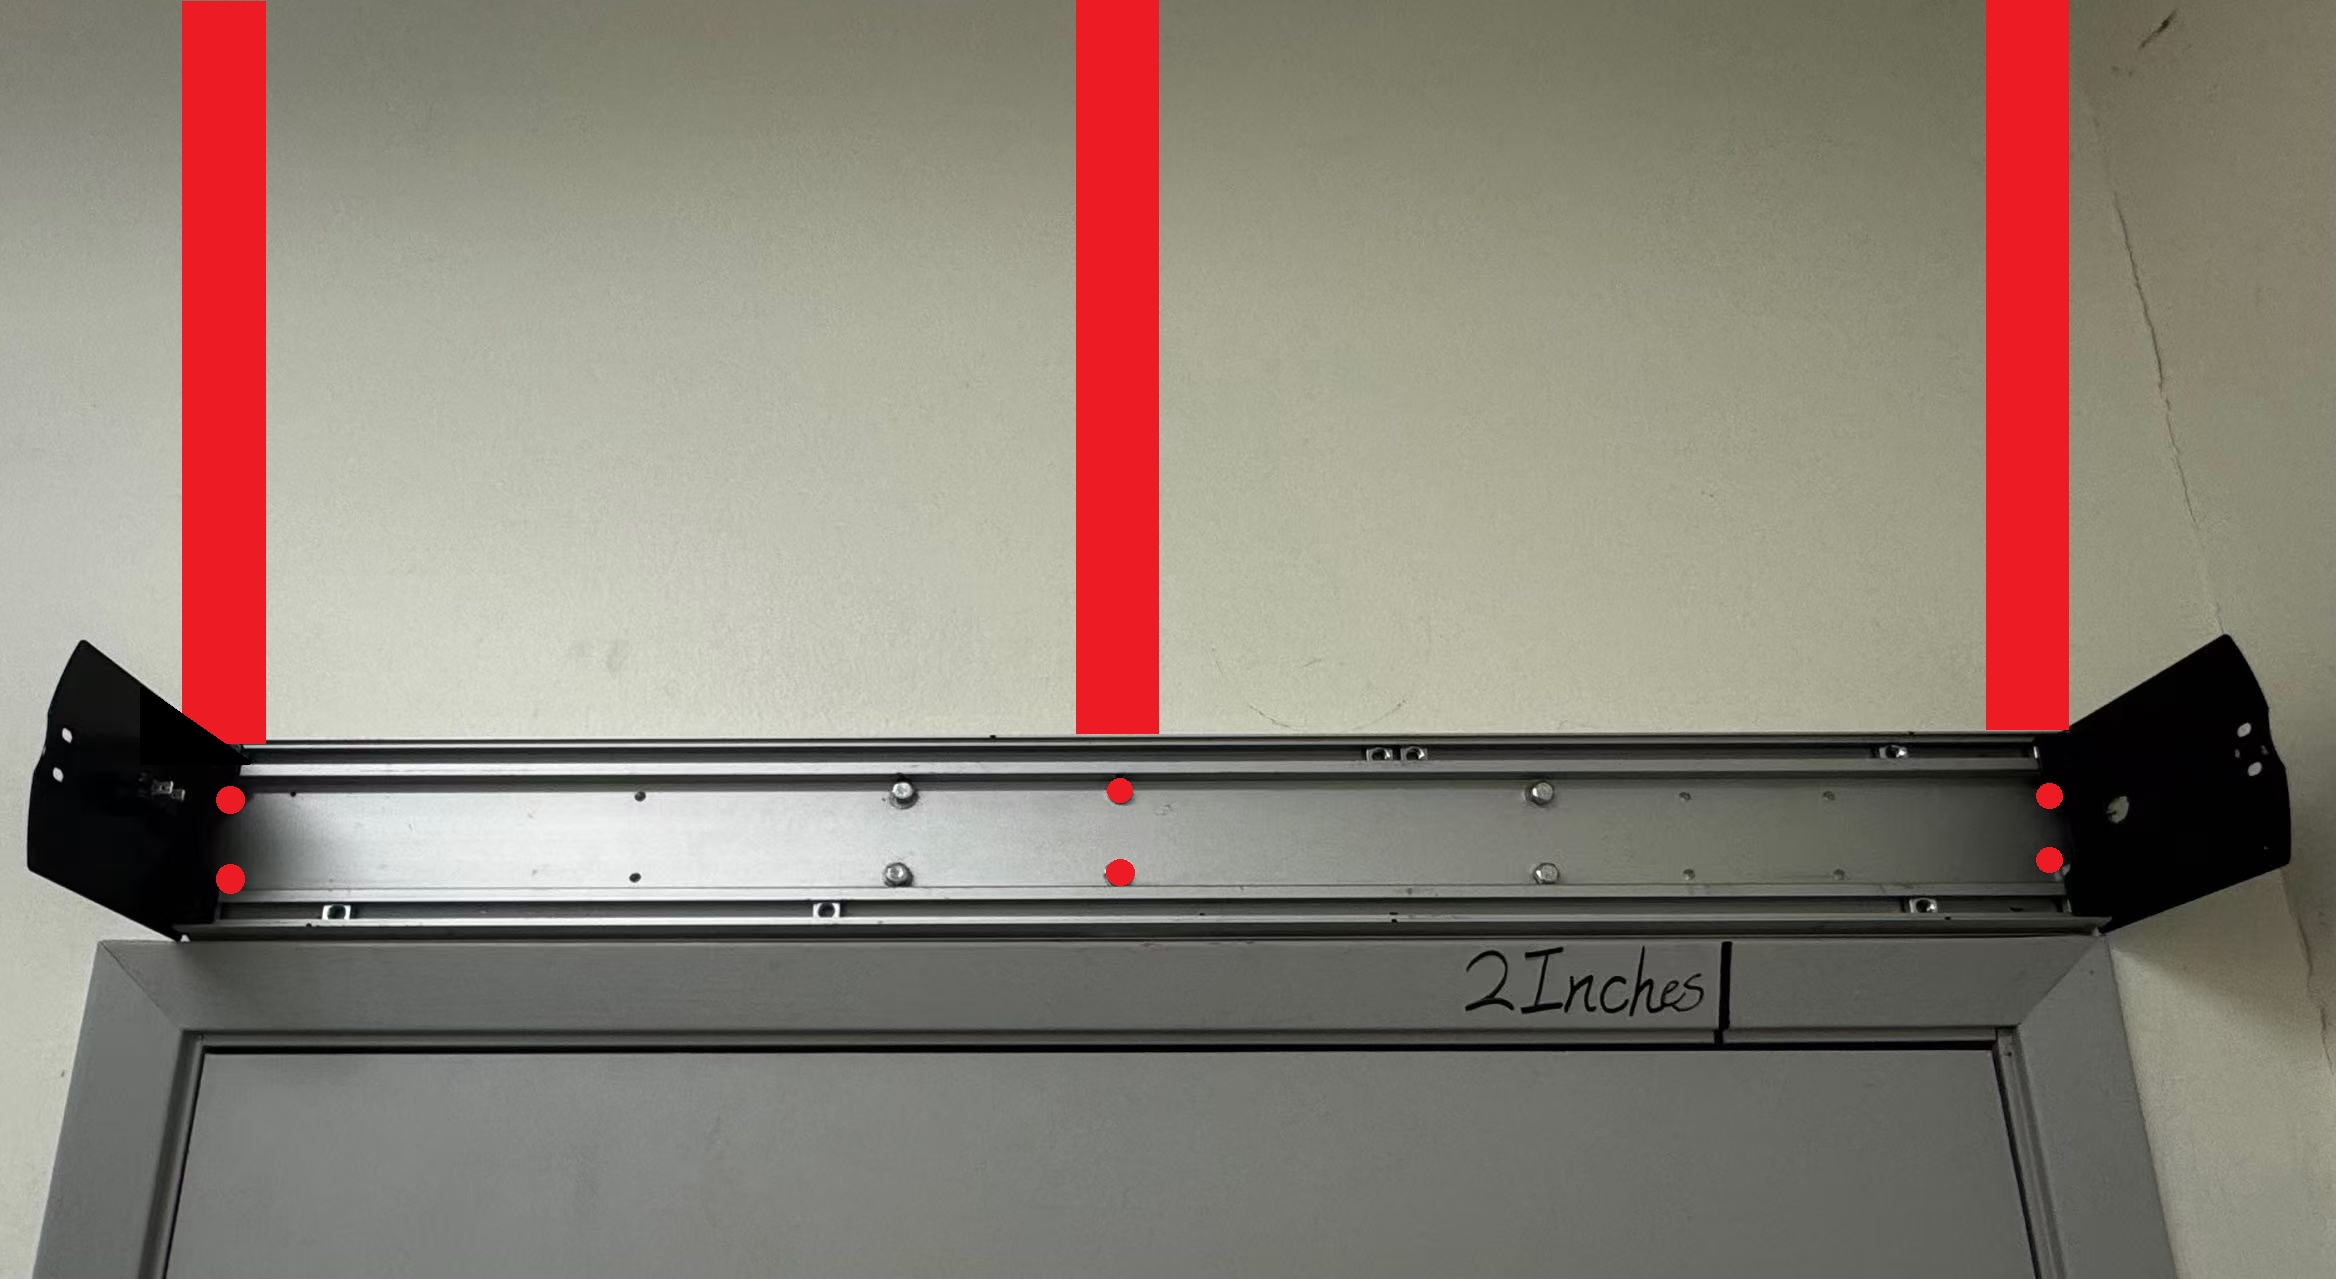
-
Screw holes through the header unit where we just marked.
-
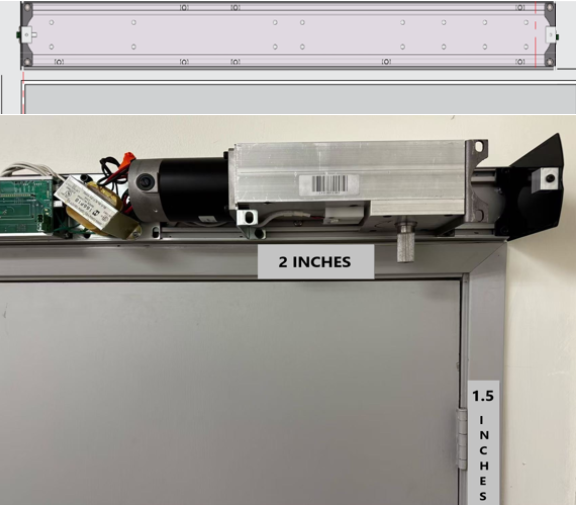
Mount the bottom of the unit above the door frame.
- We suggest 2 inches above the top from the door.
- We suggest 1.5 inches from the door hinge to the side plate.
- Install all the components back and connect all wired cable.
Step 4:
Push Arm Installation
When you use black encoder motor:
Please follow these steps:
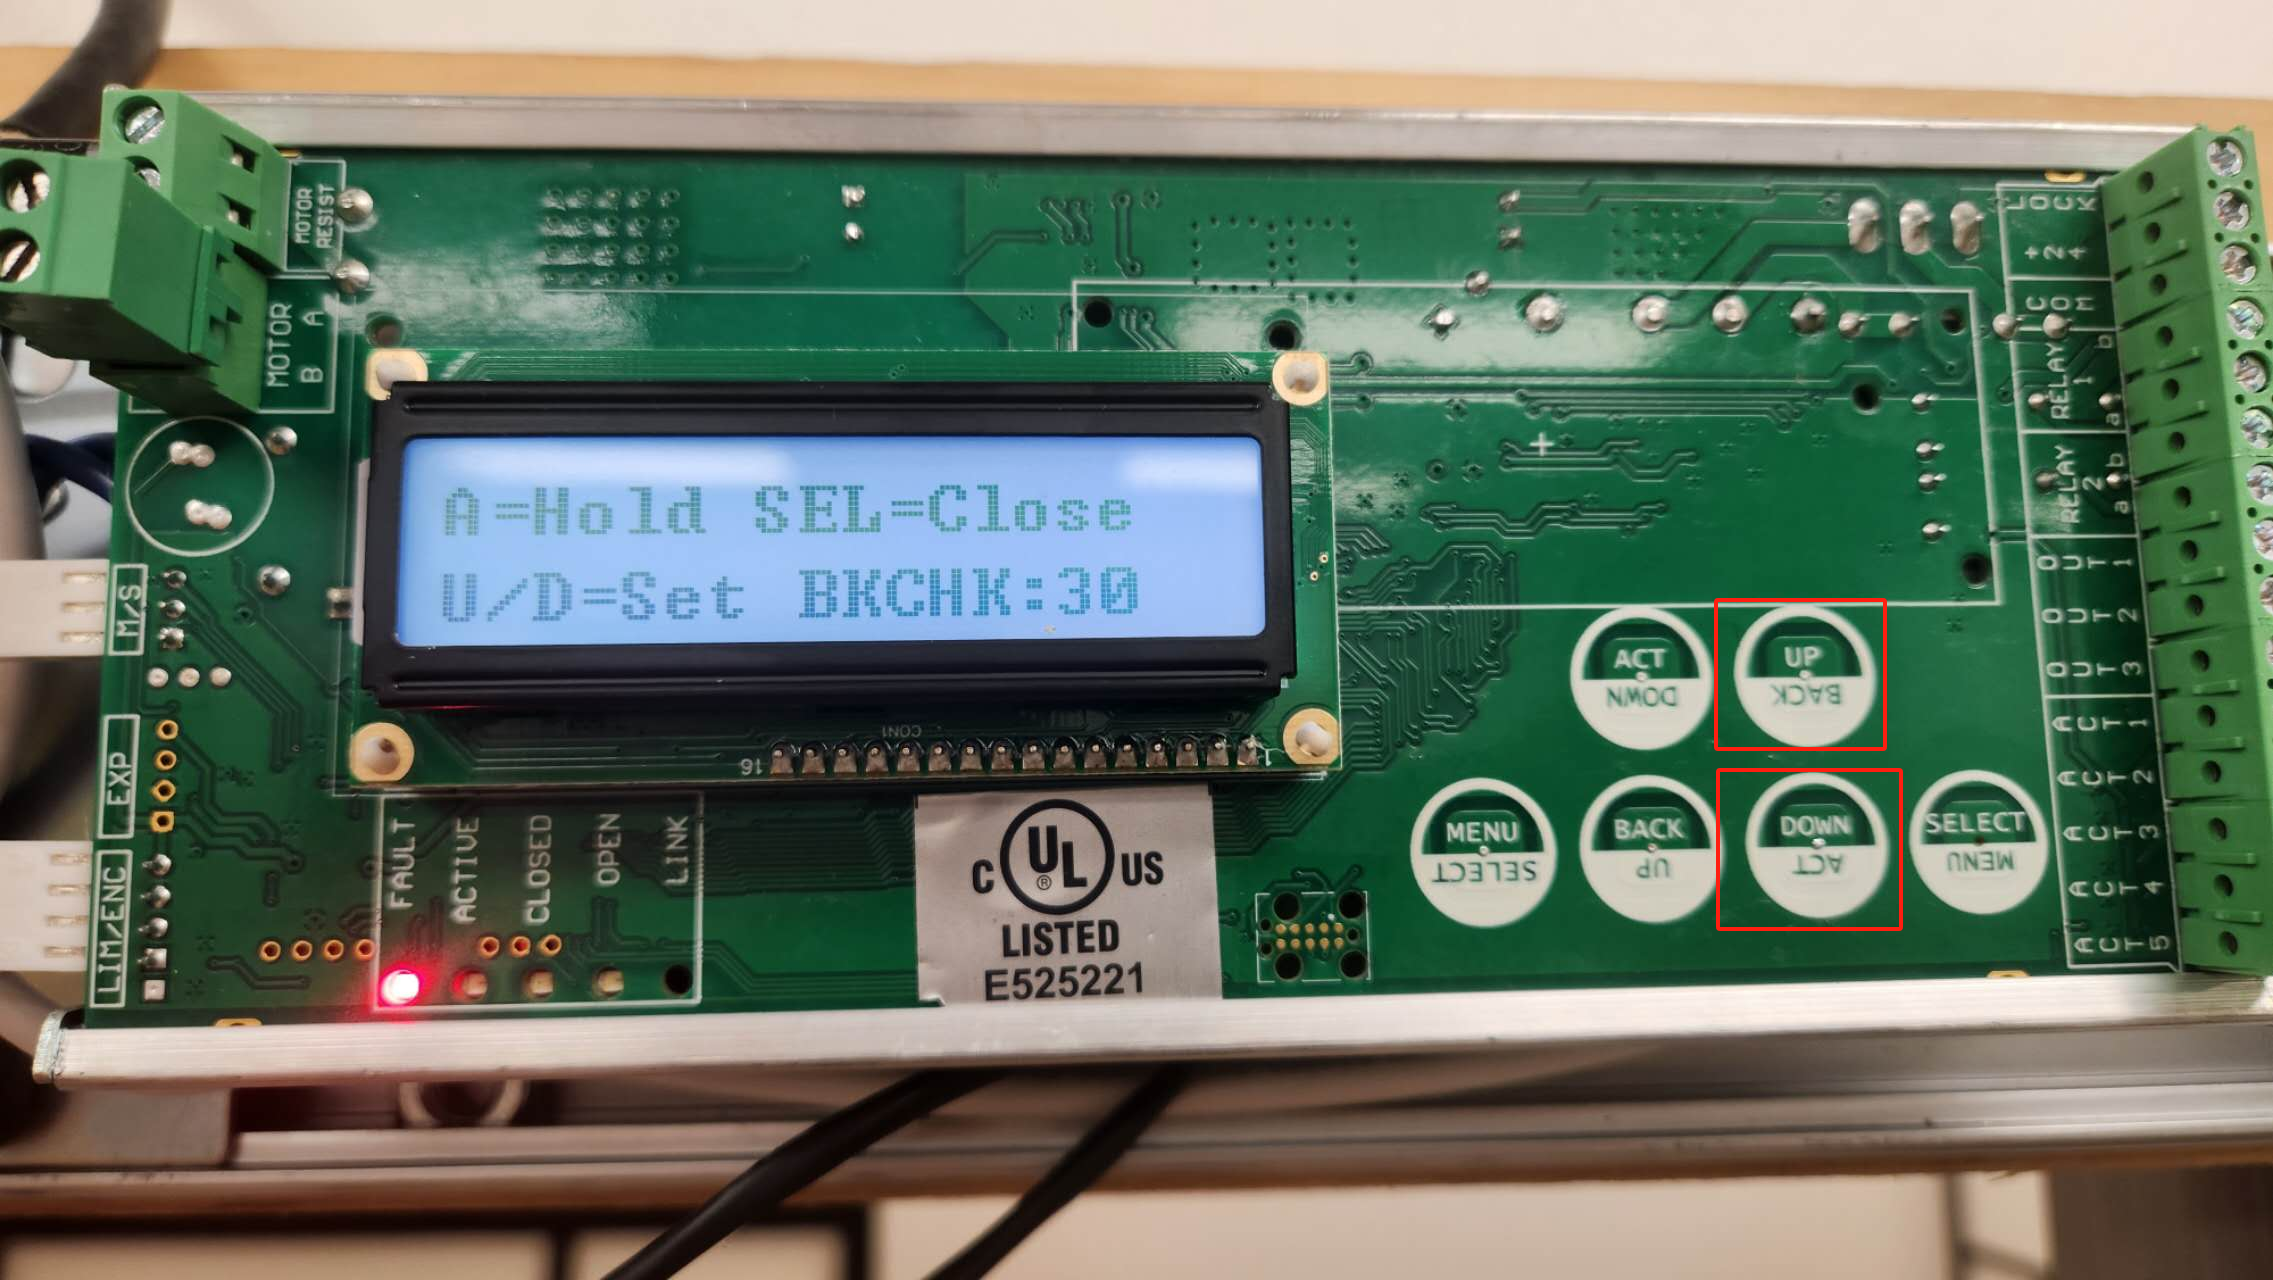
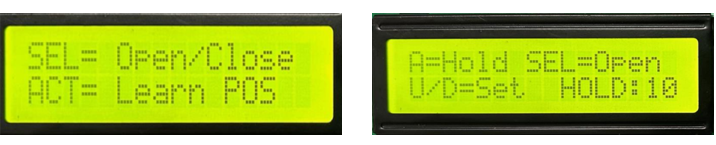
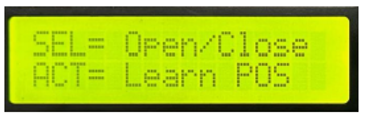
- Turn the power ON and the screen will display two options SEL/ACT as the below image.
- Press SEL button to enter the Open/Close menu
- Click select to enter the open cycle, press UP/Down to change the "BKCHK"to 30
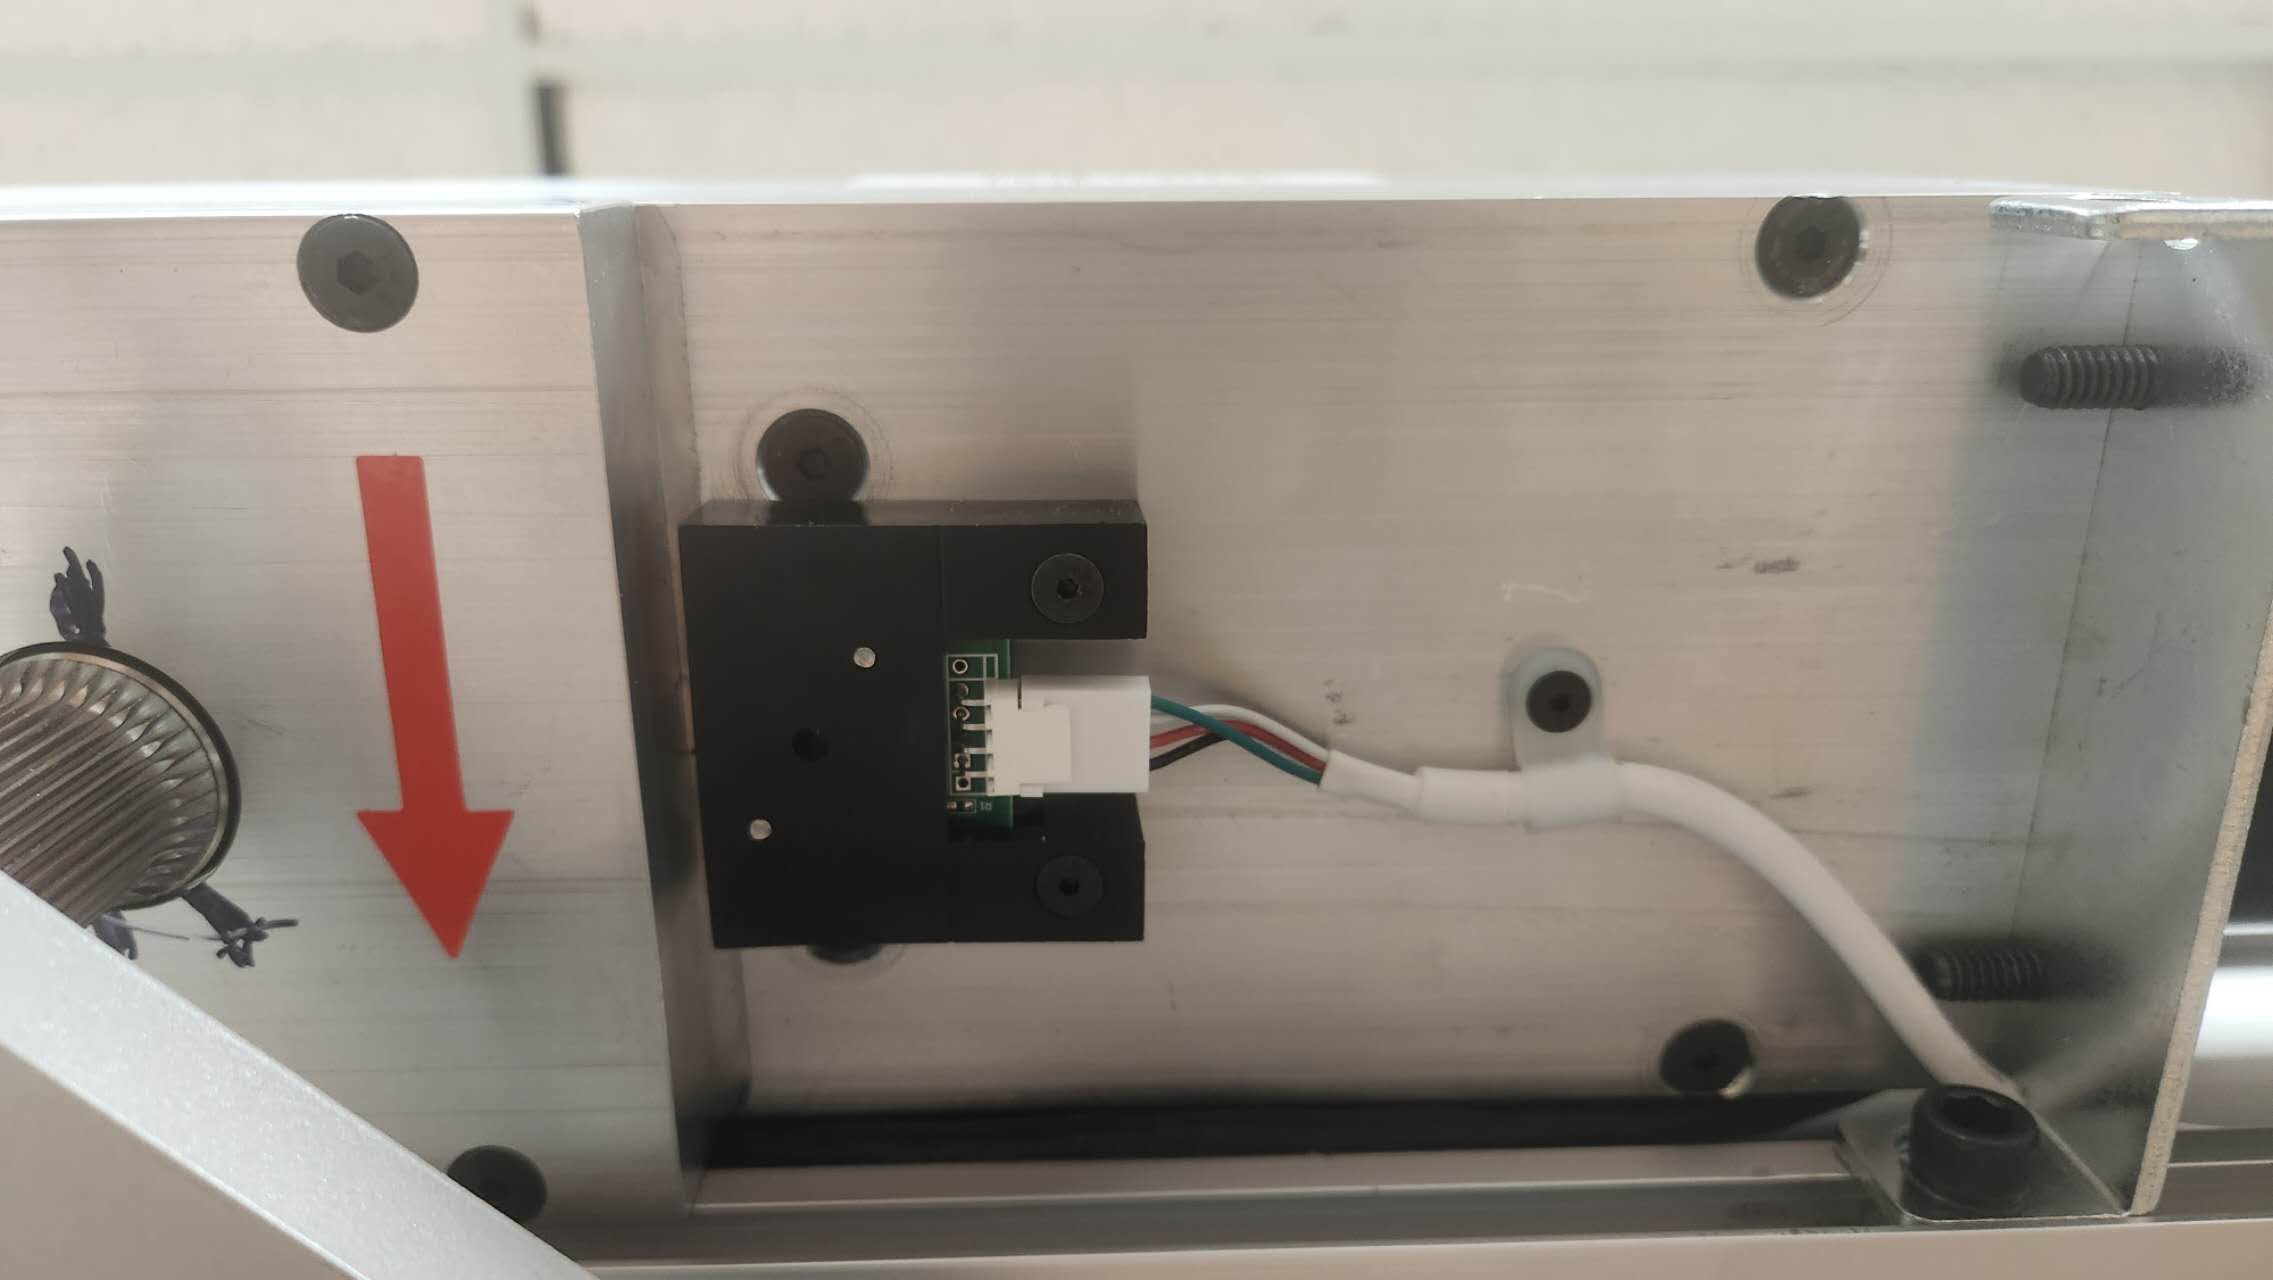
- Observe the spindle until it reaches hard stop.
- install the arm
- Press SEL button to Close the door.
White Encoder
- Pre-load the spindle to be fully open until hard stop before installing the arm.
- Turn the power ON and the screen will display two options SEL/ACT as the below image.
- Press SEL button to enter the Open/Close menu.
- Press SEL button again to activate motor loading. Observe the spindle until it reaches hard stop.
- Open the door to the desire angle you want and put a stoper behind the door.
- In this example, the door is opening 90 degree.
-
We suggest install the main push arm in 45 degree with the gearbox.
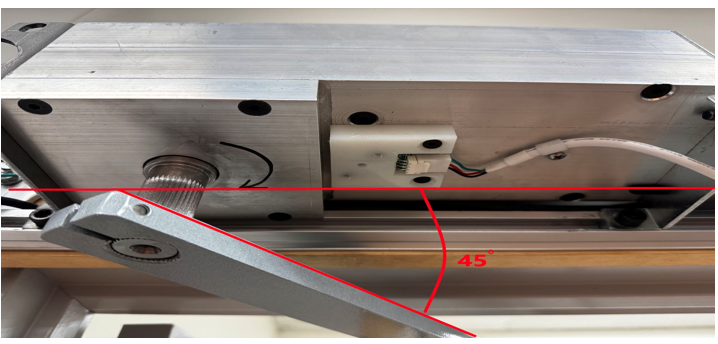
-
We suggest install the push arm door shoe 18 inches from the door hinge to the middle of the door shoe.

- Press SEL button to Close the door.
Pull Arm Installation
- Pre-load the spindle to be fully open until hard stop before installing the arm.
-
Turn the power ON and the screen will display two options SEL/ACT as the below image.
-
Press SEL button to enter the Open/Close menu.
-
Press SEL button again to activate motor loading. Observe the spindle until it reaches hard stop.
-
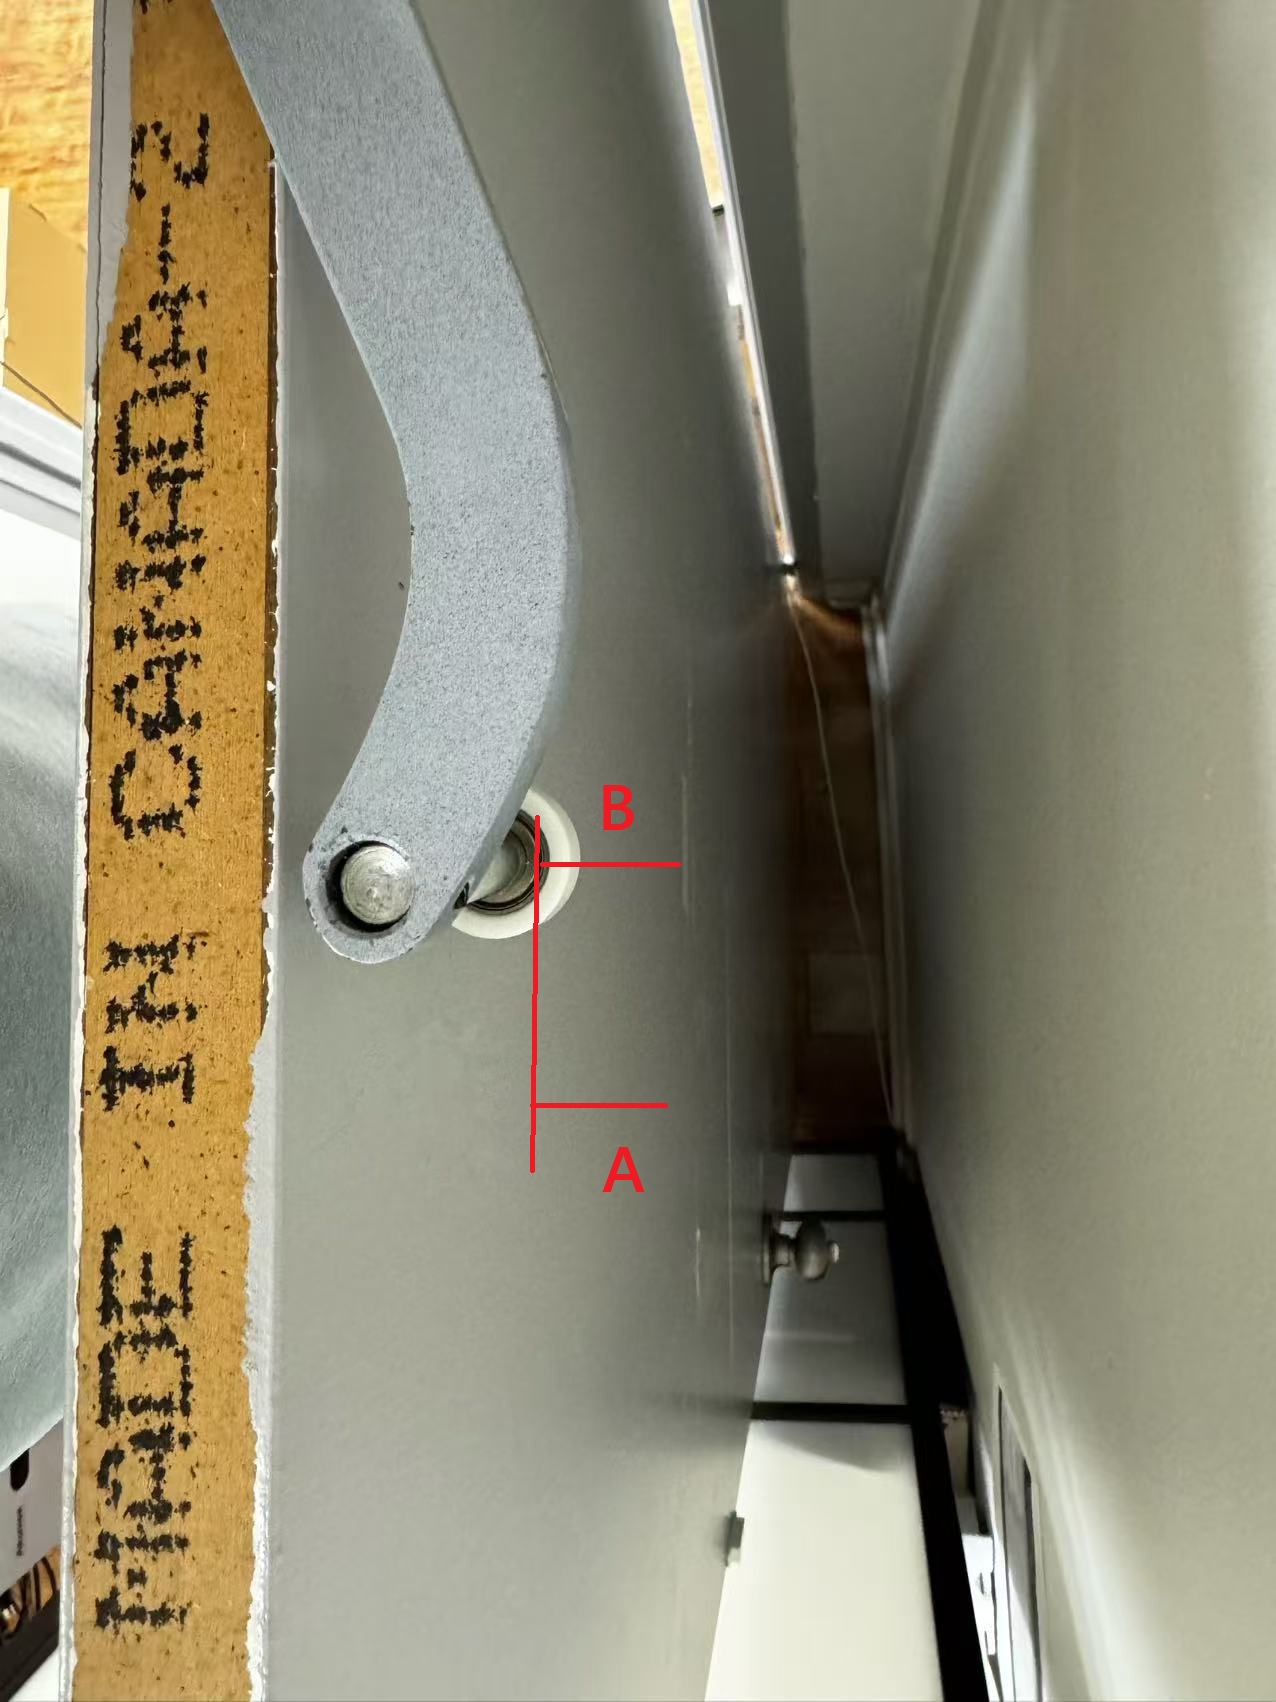
With the door closed, install the main pull arm and mark the location of the main arm's tip on the closed door ( point A).
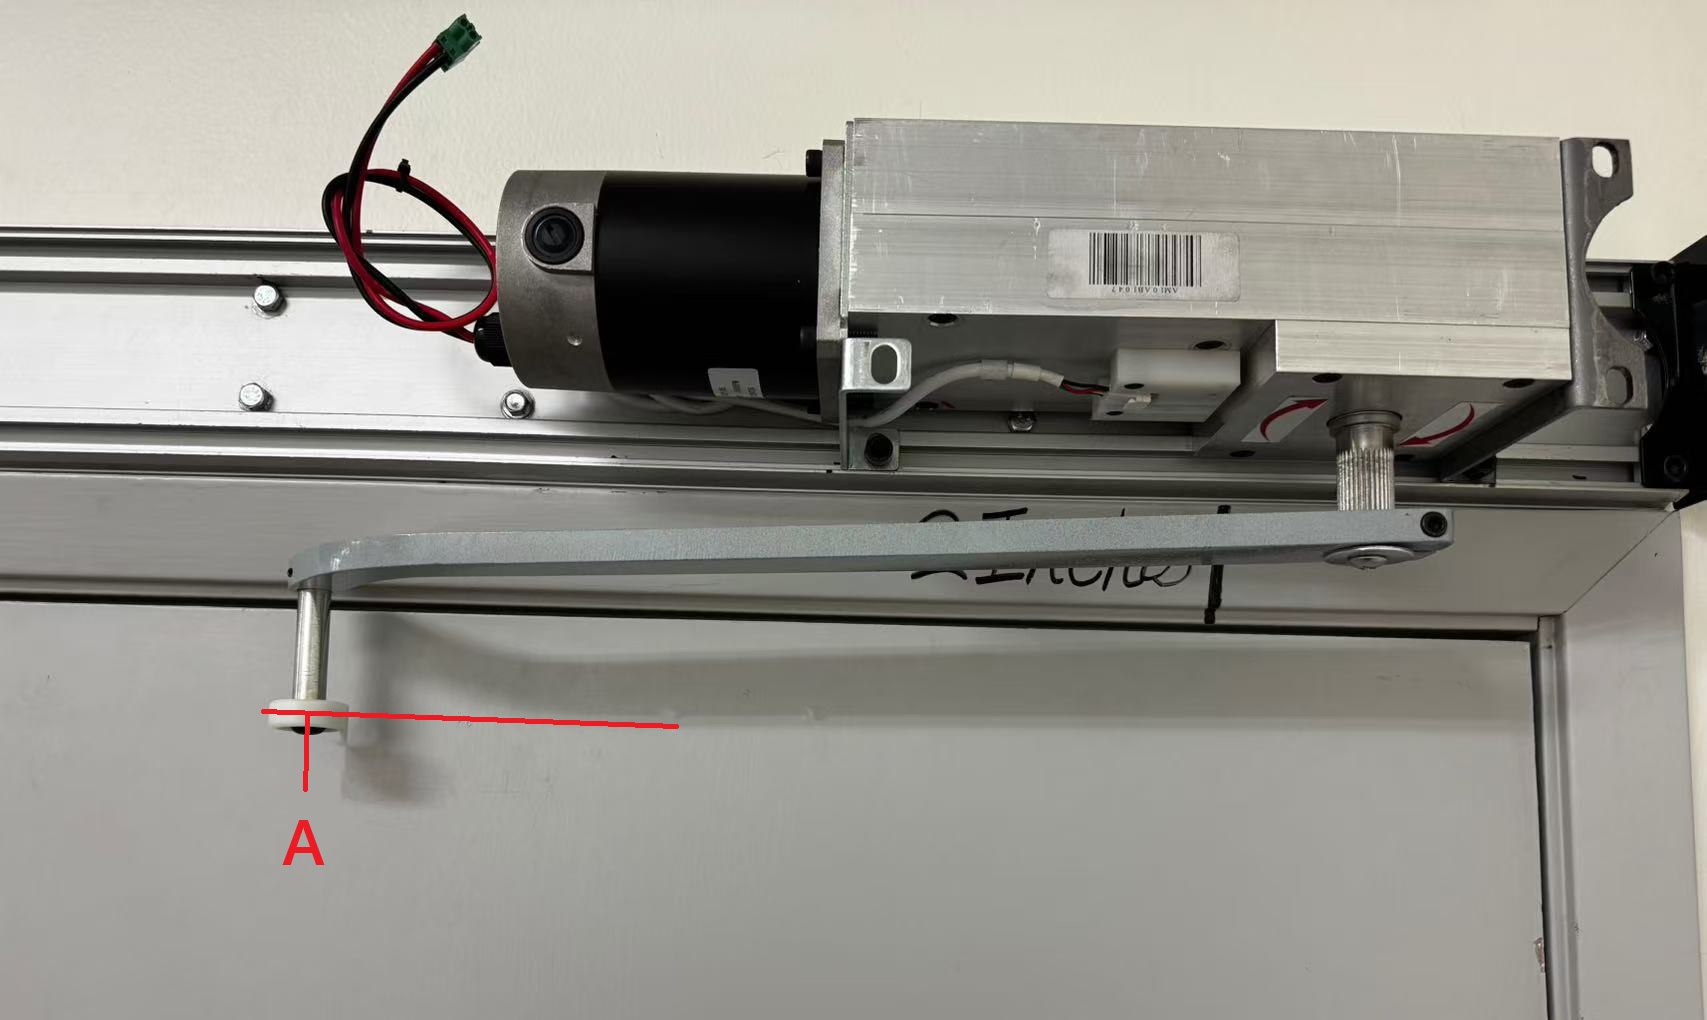
-
Remove the arm and open the door to the desire angle and hold it in place. Re-attach the main pull arm and mark the location of the main pull arm's tip on the open door ( point B).
-
Remove the main pull arm and close the door. Locate and mark the center line between A and B. Lastly, center sliding track on the marked centerline and install it.
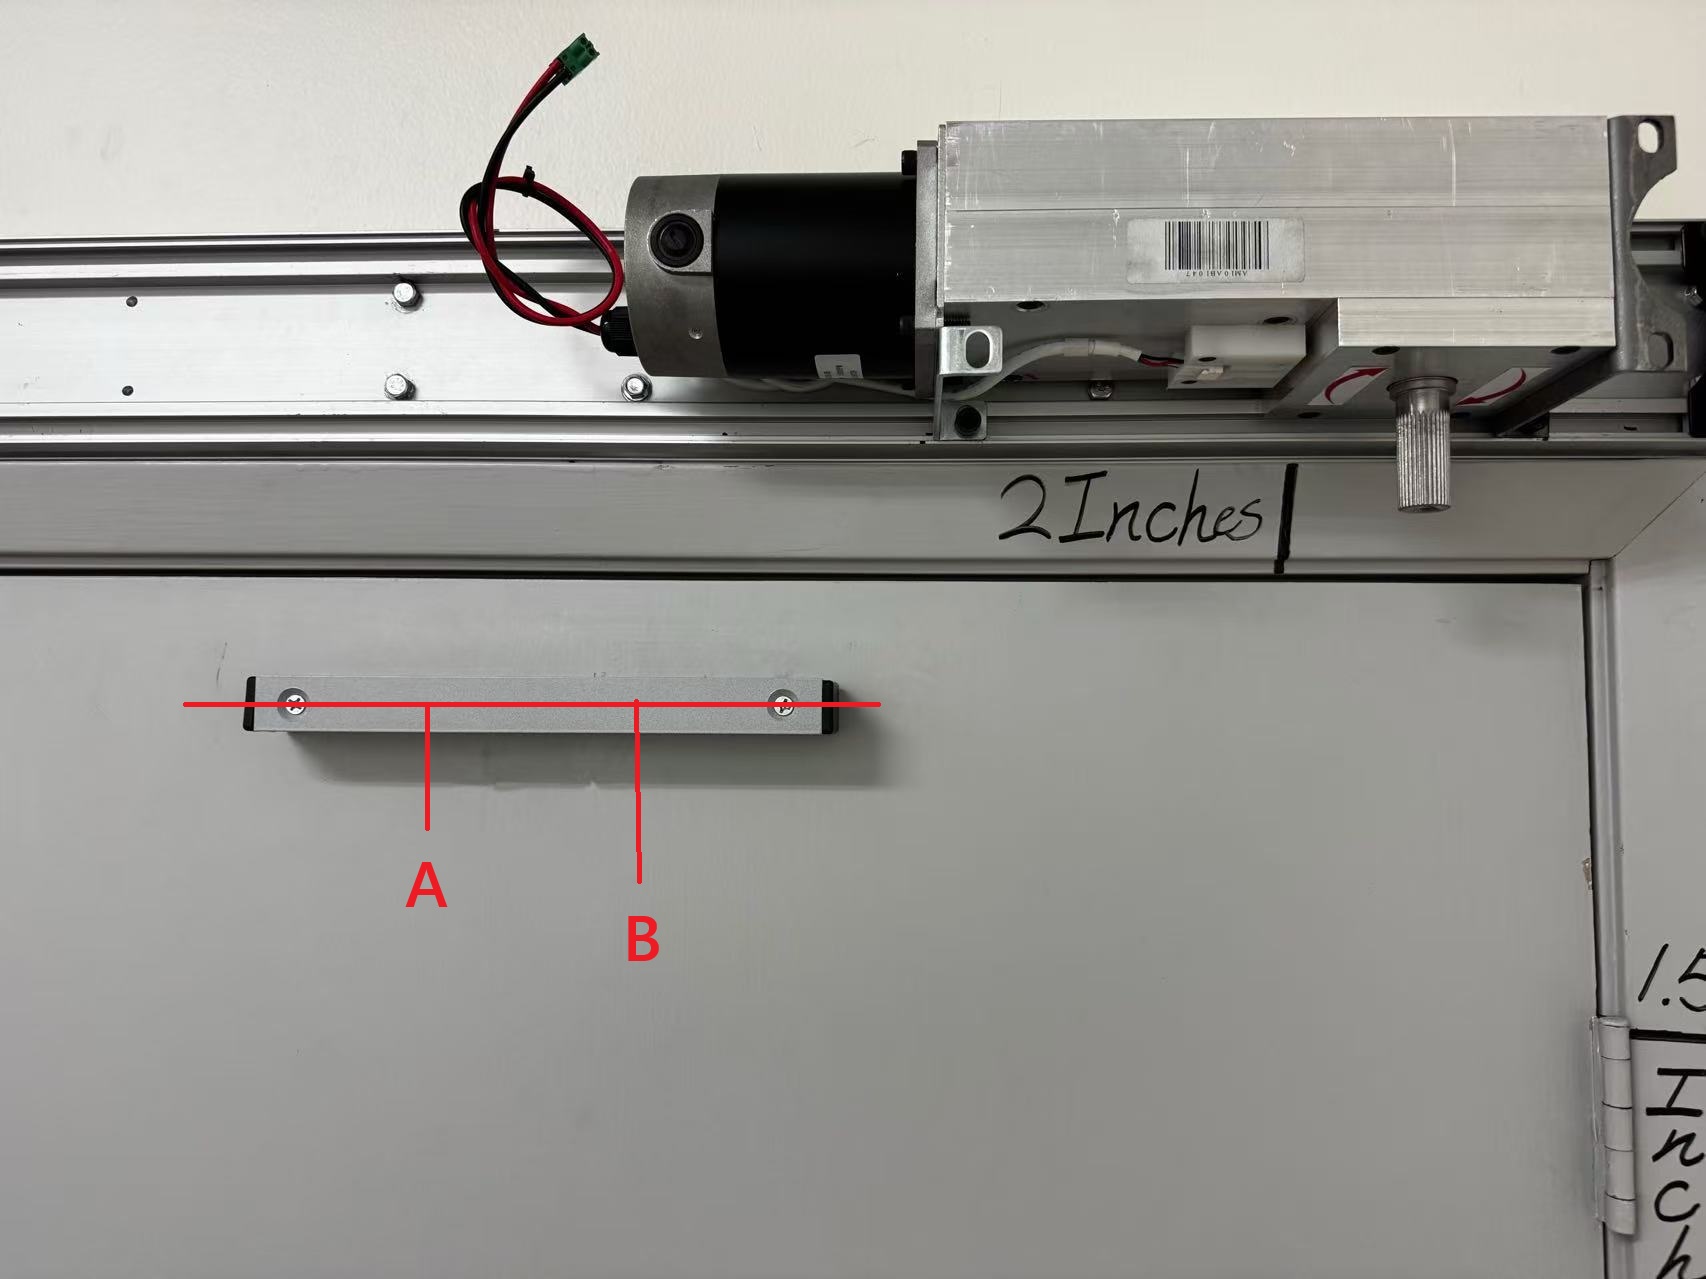
-
open the door to the desire angle previously, and slid the pull arm roll into the track than attach the main pull arm to the spindle.
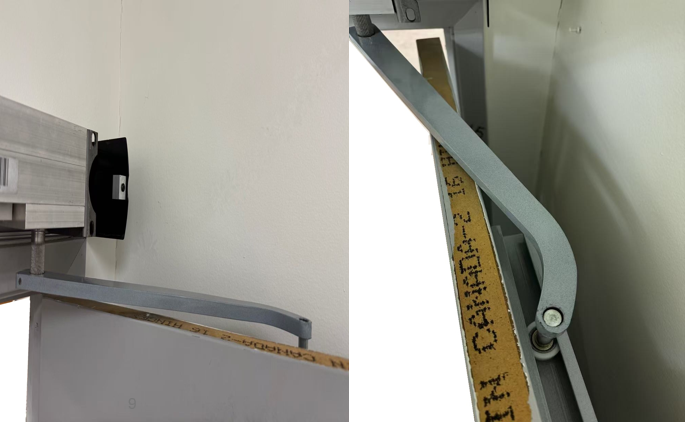
-
Press SEL button to Close the door.
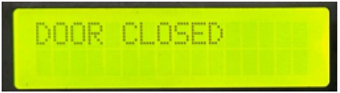
Step 5: Initialize
-
Ensure the door is fully closed and no obstacles are in the doorway.
-
Press ACT. Door will run two cycles. First cycle the operator learns door position. Second cycle the operator learns door speeds.
-
Once proper learn is complete, screen will display Door Closed.