How To Add A VTO and VTH to DSS Express
Description
This Step by Step guide will provide instruction to setup A VTO2111D-WP To A VTH5221D via a LAN connection and connect to DSS Express
Prerequisites
- VTO2111D-WP - Initialized, Configured on the Network
- VTH5221D - Initialized, Configured on the Network
- DSS Express Server - Setup, Configured on the Network
- DSS Express Client installed
Video Intercom Deployment Best Practices
Video intercom devices require exact network and programming information entered at each interface in order for the devices to function as expected.
Before attempting the guide on this page it is useful to collect all the information from each device - VTH, VTO, and DSS Express. This will be useful as a reference when entering the different device information at each device.
Step by Step Instructions
Below are several sets of instructions for setting up the VTH, VTO, and DSS Express Client
VTH
- Long press (for about 5 seconds) the Settings icon until a window pops up asking for a password
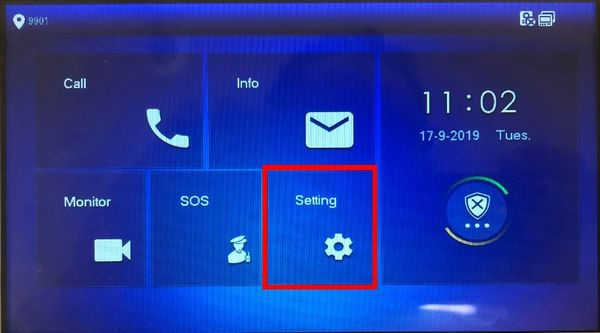
- Enter the password (Default: 123456) and press OK
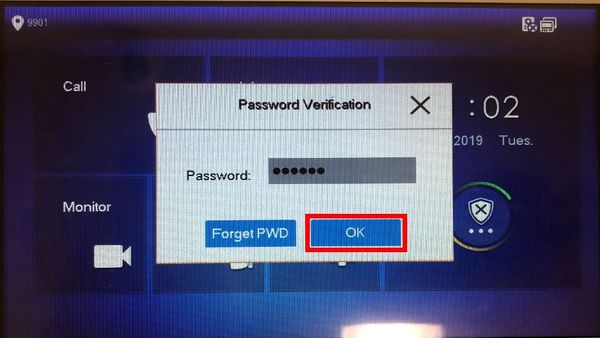
- The Advanced Settings will be displayed
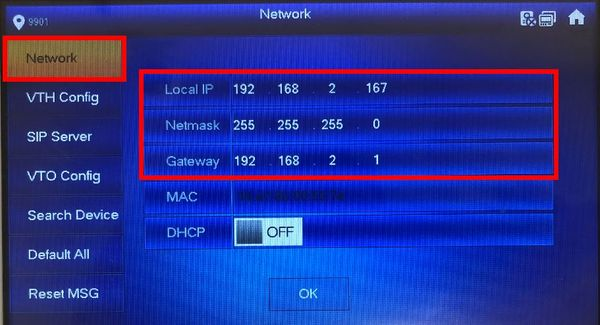
Under the Network information, confirm the Network information of the VTH device
- Under VTH Config - The Room No. can be adjusted by pressing/tapping inside the field and a keyboard will be displayed
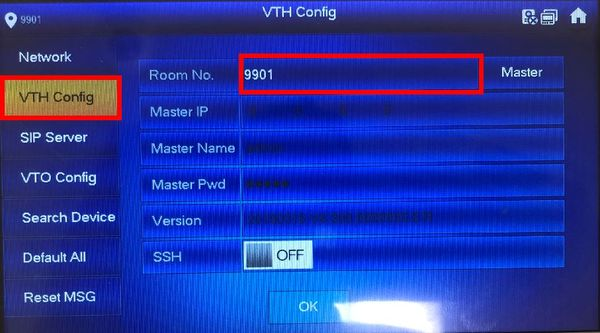
- Enter the correct Room No. , for this guide it will be 9901#0
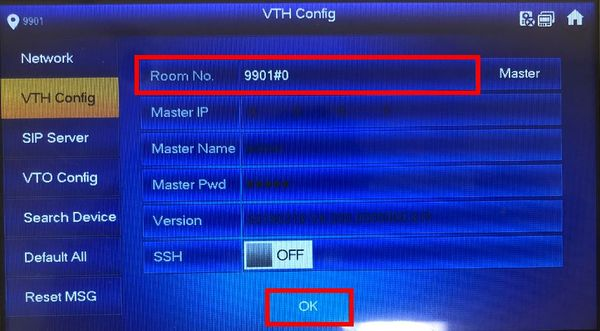
Then press OK
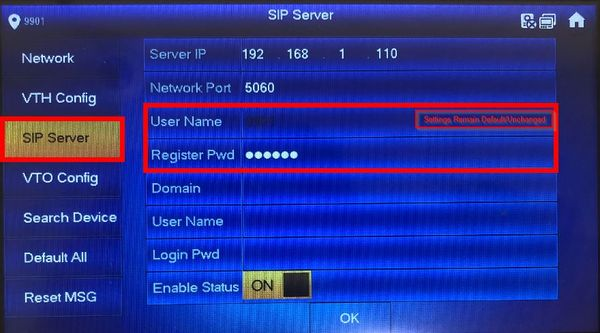
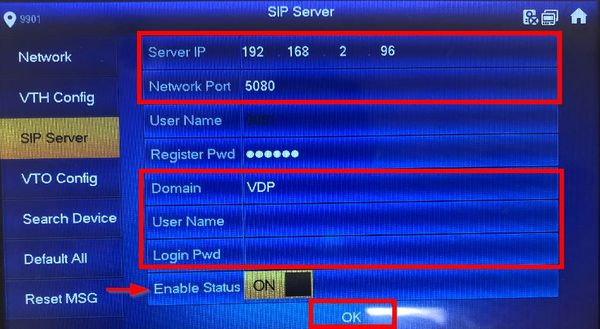
- Under SIP Server, enter the information from the DSS Express Server, since it will be acting as the SIP server in this deployment.
All information must be entered on this screen
- Server IP: IP of DSS Express Server - in this example 192.168.2.96
- Network Port: 5080
- User Name: Leave at default
- Register Pwd: Leave at default
- Domain:VDP
- User Name:username for DSS Express Server - in this example system
- Login Pwd:password for user in DSS Express
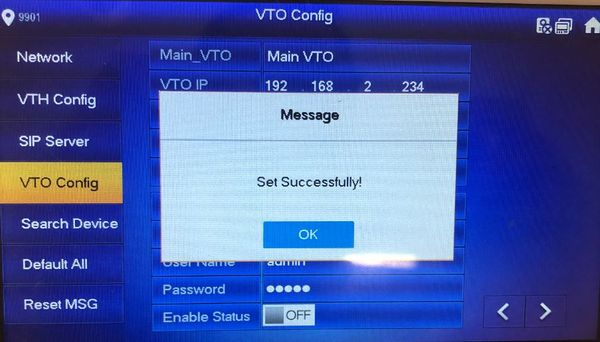
- Under VTO Config, enter the information from the VTO device in the section labeled Main_VTO

- Once the information has been entered, switch Enable Status to ON
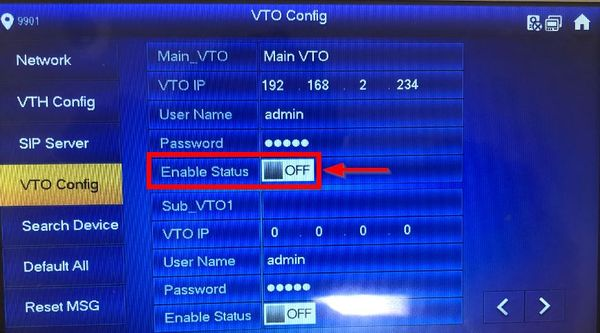
- After a few moments you will get confirmation the VTO information has been set correctly
VTO
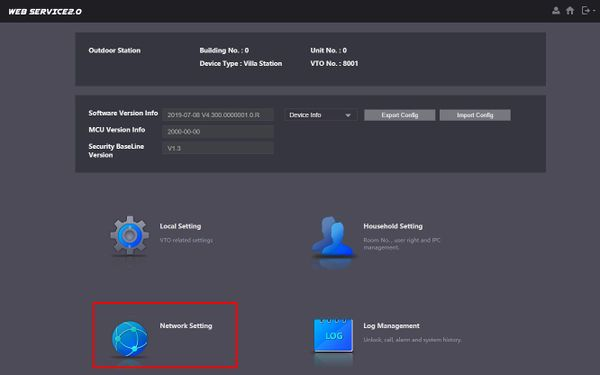
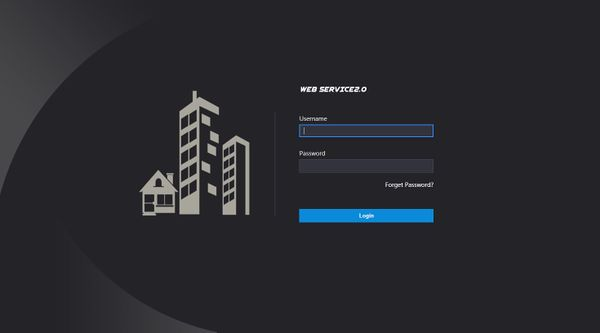
- Log into the web interface of the VTO by typing its address in a browser and entering the username and password

- Once logged in select Network Setting
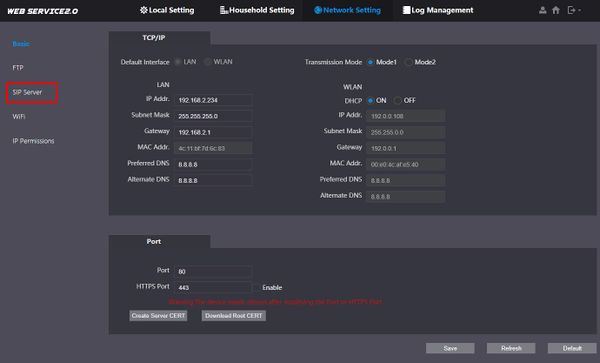
- Select SIP Server on the left
- All information must be entered on this page
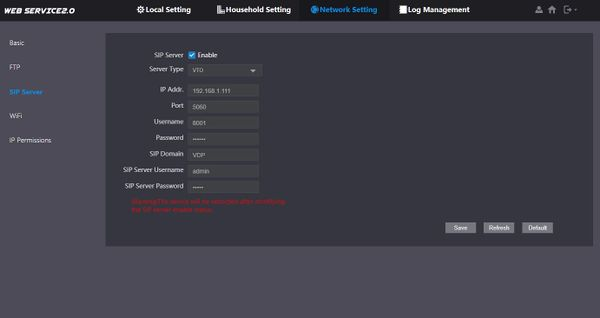
Uncheck Enable
Server Type: Express/DSS
IP Addr: IP Address of DSS Express Server
Port: 5080
leave Username/Password as default
SIP Domain: VDP
SIP Server Username: system
SIP Server Password: Password for user
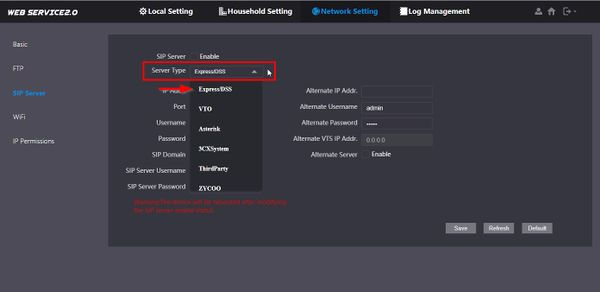
- Click Save once all fields have been entered.
The unit will reboot after making those settings changes.

DSS Express Client
The VTO and VTH device now need to be added to the DSS Express through the DSS Express S Client
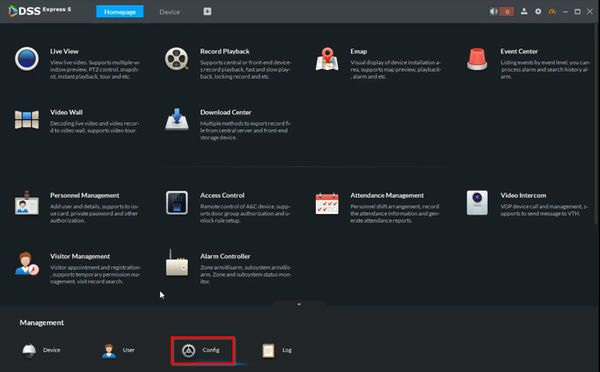
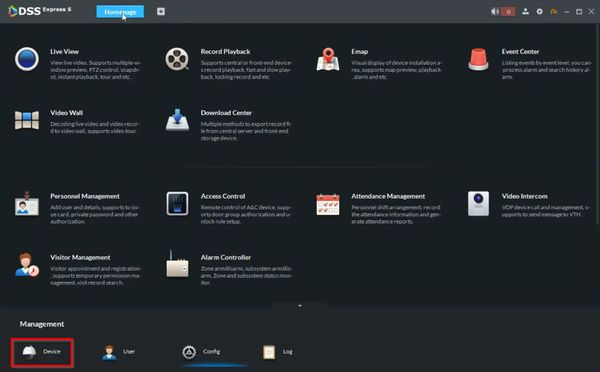
- From the Homepage of DSS Express S Client - Click Config
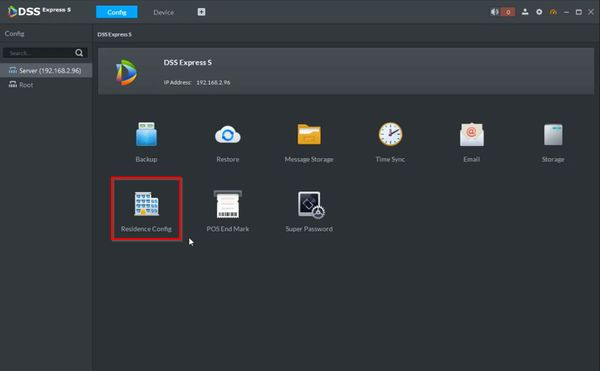
- Click Residence Config
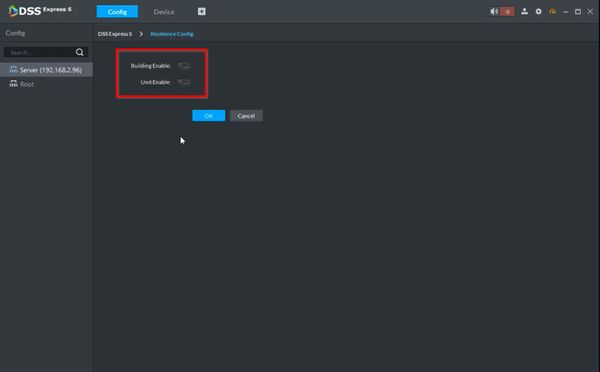
- Make sure the settings - Build Enable and Unit Enable are not turned on
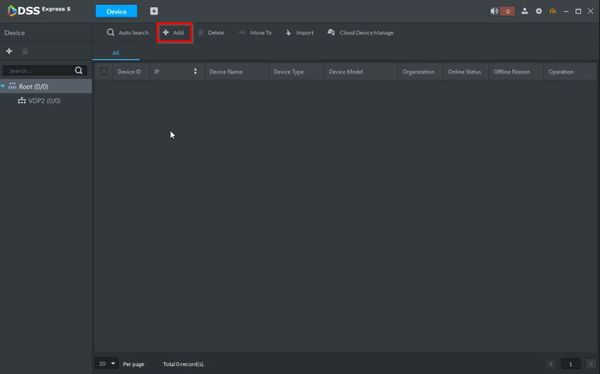
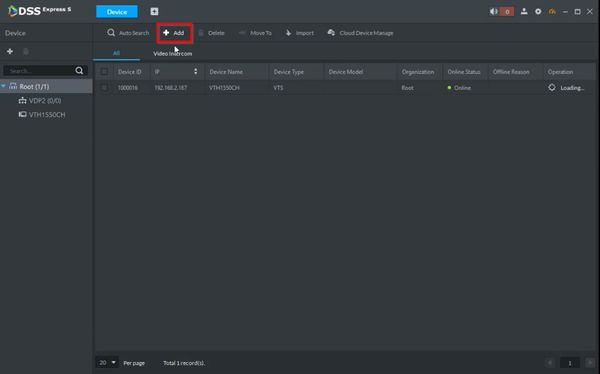
- From the Homepage of DSS Express S Client - Click Device
- Click '+ Add'
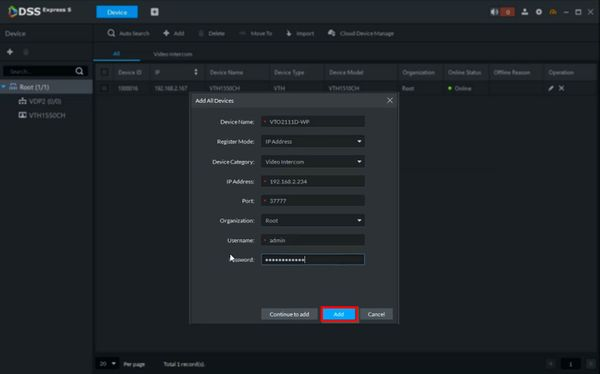
- The Add Device interface will appear. Enter all required information
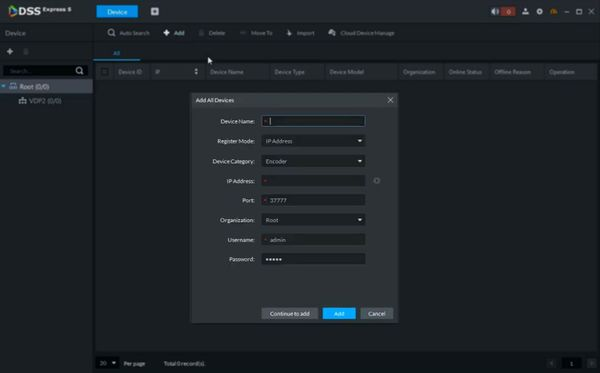
- Device Name:Name for the device in the software
- Register Mode: IP Address
- Device Category: Video Intercom
- IP Address: IP Address of Device
- Port: 37777
- Organization
- Username: Username of device
- Password: Password
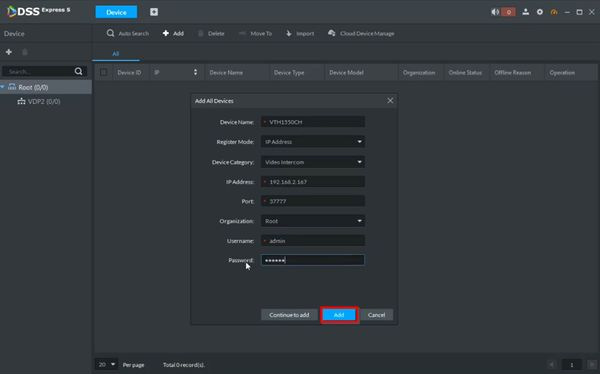
- Repeat the process to add the VTH, by clicking '+ Add'
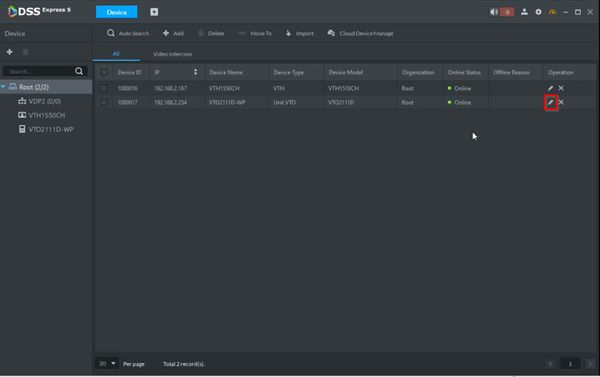
- Enter all device information and click Add to finish adding the device
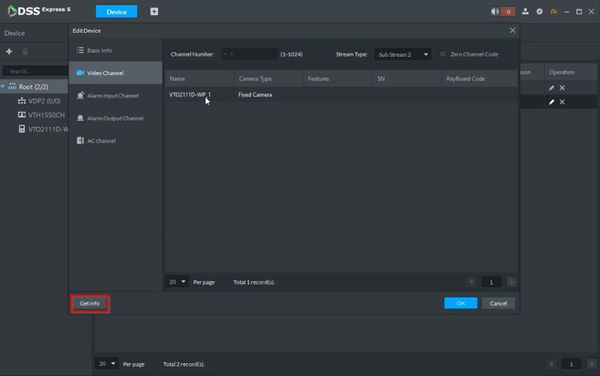
- Once the devices have been added, click the Pencil icon under the Operation column to confirm the device details.
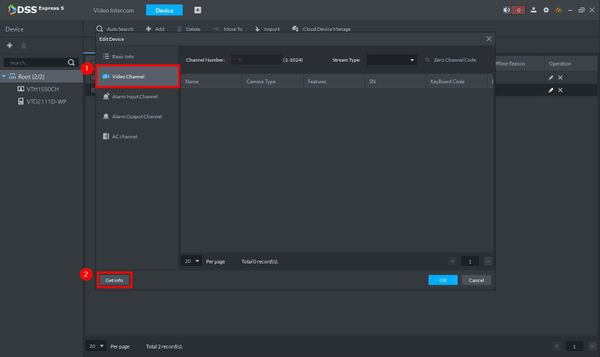
- Click Video Channel
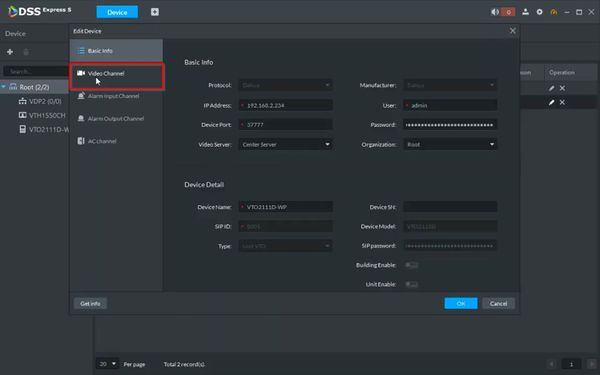
- Click Get Info
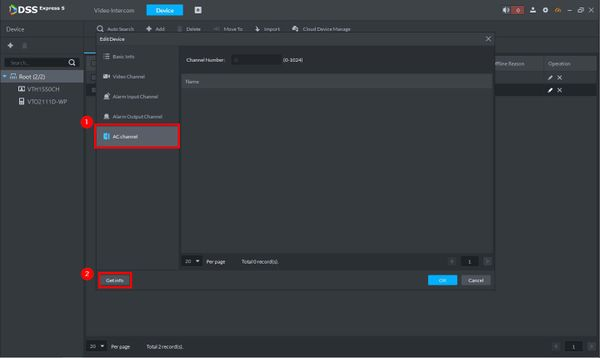
- Click AC Channel, then Get Info
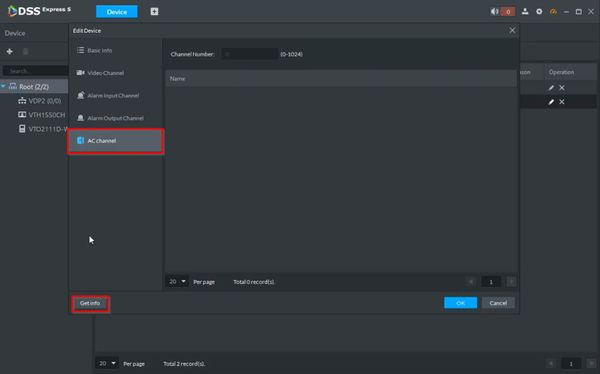
Click OK
Once complete
Troubleshooting
- f you are able to get only video and no door/lock control, or vice versa, try confirming the Device Information at the DSS Express Client:
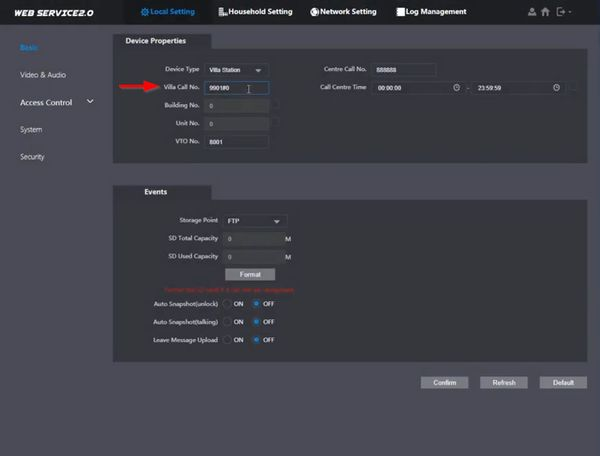
VTO
- If VTO and VTH won't communicate with each other after setting up, follow the below troubleshooting steps:
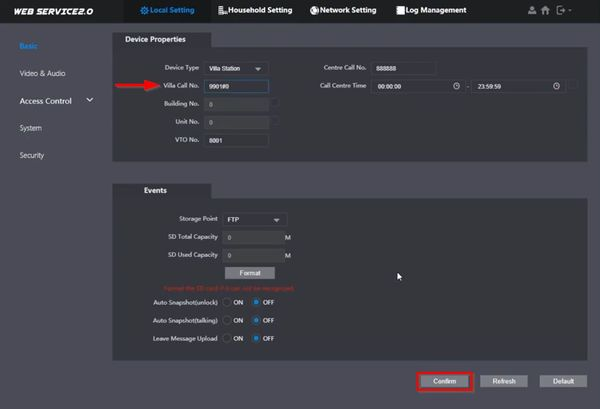
- Change Villa Call No. to the Room No. the VTH was set to in the previous step (In this example from 9901 to 9901#0)

- Click Confirm to save changes
-
Press the call button on VTO again and see if the VTH will receive the call. If the call goes through, follow the rest of the steps.
-
Log into the web interface of the VTO by typing its address in a browser and entering the username and password
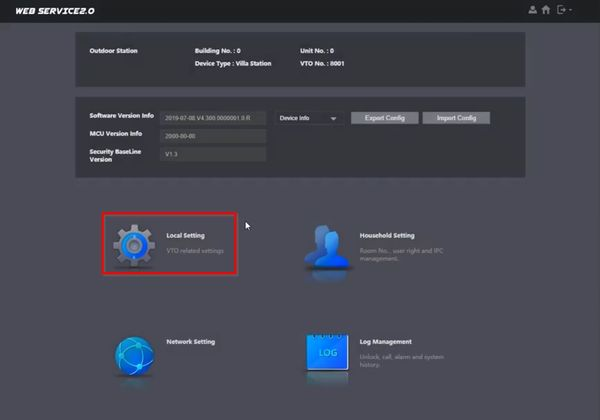
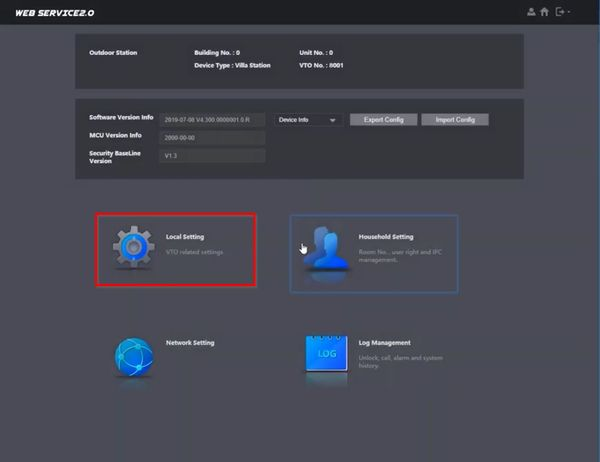
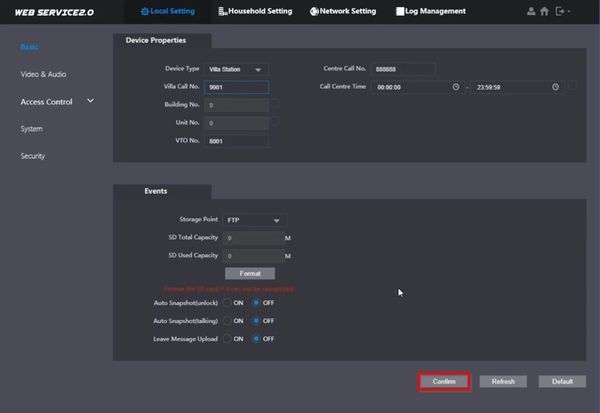
- Click Local Setting
- Change the Villa Call No. from 9901#0 -> 9901
- Click Confirm to save changes
Tags: Intercom